Beef Gravy Recipe: How to Make Beef Gravy
The warm, comforting aroma of Sunday dinner can fill your kitchen with comfort. You may remember gathering around the table and waiting for the final touch on your plate. Mastering homemade beef gravy can turn a simple meal into something special.
Have you wondered how to make beef gravy that tastes rich and stays smooth? This guide shows a practical way to create a savory sauce from scratch with basic pantry staples. You will learn to turn pan drippings into a culinary masterpiece.
Our easy beef gravy recipe uses a simple method: whisk flour into fat, then slowly add broth. These steps create a smooth, velvety texture every time. This beef gravy recipe builds cooking confidence while helping you impress your family.
Key Takeaways
- Learn the essential ratio of fat to flour for the perfect consistency.
- Discover how to deglaze your pan to capture maximum flavor.
- Master the art of adding liquid gradually to prevent unwanted lumps.
- Find expert tips for storing and reheating your sauce for later use.
- Explore simple ways to adjust seasoning for a customized flavor profile.
What Makes This Beef Gravy Recipe Work
Understanding the science behind a perfect sauce is the secret to better home cooking. When you prepare a best beef gravy recipe, you build layers of complex flavor instead of simply mixing liquids. Achieving that perfect consistency requires attention to detail and a few basic cooking techniques.
How browned beef drippings build savory flavor
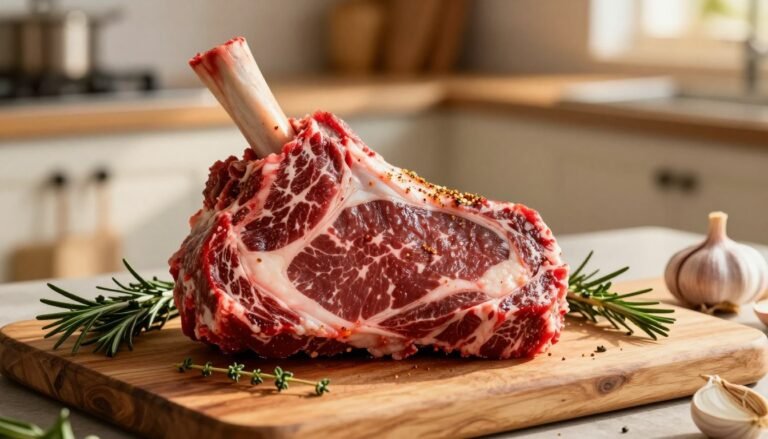
The foundation of a classic beef gravy lies in browned bits left in your pan after searing meat. These caramelized particles, known as fond, provide a concentrated, roasted depth that plain broth cannot match. By deglazing the pan, you release these intense flavors into your sauce, creating a truly savory beef gravy.
Why flour and fat create a smooth gravy base
To achieve the right thickness, you must create a roux by cooking equal parts fat and flour together. This mixture acts as a thickening agent that keeps flour from clumping when you add liquid. Properly cooking the roux ensures your final sauce stays silky and smooth instead of pasty or lumpy.
How broth, seasoning, and simmering affect the final texture
Gradually whisking in your broth helps maintain a uniform texture throughout cooking. After adding the liquid, a gentle simmer lets flavors blend and brings the sauce to its ideal consistency. Careful seasoning at the end balances the richness, so every bite tastes perfectly seasoned.
| Component | Primary Role | Impact on Quality |
|---|---|---|
| Beef Drippings | Flavor Base | Adds deep, roasted notes |
| Flour/Fat Roux | Thickening | Creates a smooth, lump-free body |
| Beef Broth | Volume/Body | Provides the essential savory foundation |
| Simmering | Reduction | Concentrates flavor and refines texture |
Ingredients for Homemade Beef Gravy
Great gravy starts with knowing what each key ingredient does. In homemade beef gravy, quality ingredients shape the sauce’s final flavor.
Essential ingredients and suggested measurements
Beef drippings, butter, or cooking oil
Fat forms the base of your roux. Beef drippings give traditional beef gravy its most authentic roasted flavor. If you have no pan drippings, use quality butter or neutral cooking oil for richness.
All-purpose flour and beef broth
Use equal parts fat and all-purpose flour for a stable base. For a standard batch, use two tablespoons of each. Slowly whisk in two cups of beef broth until the gravy reaches your desired consistency.
Worcestershire sauce, salt, pepper, and optional herbs
These ingredients create the savory base of your beef gravy recipe. A splash of Worcestershire sauce adds rich umami flavor and balances the fat. Add salt and cracked black pepper to taste, plus fresh thyme or rosemary if desired.
Ingredient substitutions for different dietary needs
You can adapt this recipe for many dietary needs without losing quality. Use the guide below to make changes:
- Gluten-Free: Swap all-purpose flour for a 1:1 gluten-free flour blend or cornstarch slurry.
- Dairy-Free: Stick to beef drippings or vegetable oil instead of butter to keep the sauce dairy-free.
- Low-Sodium: Choose low-sodium beef broth and adjust the added salt carefully at the end of the cooking process.
These simple swaps let everyone enjoy a delicious, flavorful sauce, whatever their dietary needs.
Choose the Best Liquid and Flavor Additions
Your ingredient choices decide whether gravy tastes good or exceptional. By choosing quality liquids and balanced seasonings, you can make a savory beef gravy for any main course.
Using homemade or store-bought beef broth
Broth forms the foundation of your sauce. Homemade stock adds great depth, but quality store-bought broth works well for a classic beef gravy.
Choose low-sodium or unsalted varieties when shopping. This keeps salt under your control and prevents an overly briny dish.
When to add pan juices from roast beef
Pan drippings are liquid gold in any best beef gravy recipe. After roasting the meat, strain the drippings through a fine-mesh strainer.
This removes burnt bits. Skim excess fat before measuring the liquid to prevent a greasy or heavy sauce.
Boosting a classic beef gravy with Worcestershire sauce
A splash of Worcestershire sauce adds depth. Its complex, umami-rich flavor can make your sauce taste slow-cooked for hours.
Start with a small amount and taste as you go. Enhance the meat’s natural flavor without overpowering it.
Optional additions such as garlic, onion powder, thyme, and red wine
You can customize your sauce with aromatics and herbs. Garlic and onion powder create a savory base, while fresh or dried thyme adds a bright, earthy note.
For a richer flavor, deglaze the pan with dry red wine. This creates a restaurant-quality finish that pairs well with hearty roasts.
| Flavor Addition | Primary Benefit | Best Use Case |
|---|---|---|
| Worcestershire Sauce | Umami Depth | Everyday Gravy |
| Red Wine | Complexity | Holiday Roasts |
| Fresh Thyme | Earthy Aroma | Poultry or Beef |
| Onion Powder | Sweet Savory Note | Quick Weeknight Meals |
Prepare Your Pan and Ingredients Before Cooking
Kitchen success begins before you turn on the stove. Organize your workspace so you can focus on technique, not missing supplies. This preparation helps you make a flavorful beef gravy that impresses guests.
Collect the saucepan, whisk, measuring tools, and fine-mesh strainer
Gather a heavy-bottomed saucepan for even heat. You also need a sturdy wire whisk, accurate measuring cups and spoons, and a fine-mesh strainer for a silky sauce.
Separate and measure the fat, flour, and liquid
Measure the fat, flour, and broth before heating the pan. These ingredients help you keep a steady roux-to-liquid ratio, the base of a perfect sauce. Precision prevents gravy that is too thin or too thick.
Warm the beef broth to help prevent lumps
Cold liquid can clump when it meets a hot roux. Warm the beef broth on the stove or in the microwave first. This step helps create a smooth, flavorful beef gravy.
Strain pan drippings and remove excess fat when needed
When using roast drippings, pour them through a fine-mesh strainer. This removes charred bits and other solids. If grease collects on top, skim off the excess so the sauce stays rich, not oily.
Food safety guidance for handling roast-beef drippings
Handle pan drippings carefully to help prevent foodborne illness. If you will not use them soon, refrigerate them promptly in a sealed container. Never leave meat juices at room temperature for more than two hours.
“The secret to great cooking is not just the ingredients, but the preparation that happens before the heat is ever applied.”
| Preparation Step | Tool Required | Purpose |
|---|---|---|
| Measure Ingredients | Measuring Cups | Ensure consistency |
| Strain Drippings | Fine-mesh Strainer | Remove impurities |
| Warm Broth | Saucepan | Prevent clumping |
How to Make Beef Gravy From Scratch
Learning how to make beef gravy from scratch is a useful skill for any home cook. A steady process turns simple pan drippings into a rich sauce that improves any meal.
Create the roux with beef drippings and flour
Cook the flour long enough to remove its raw taste
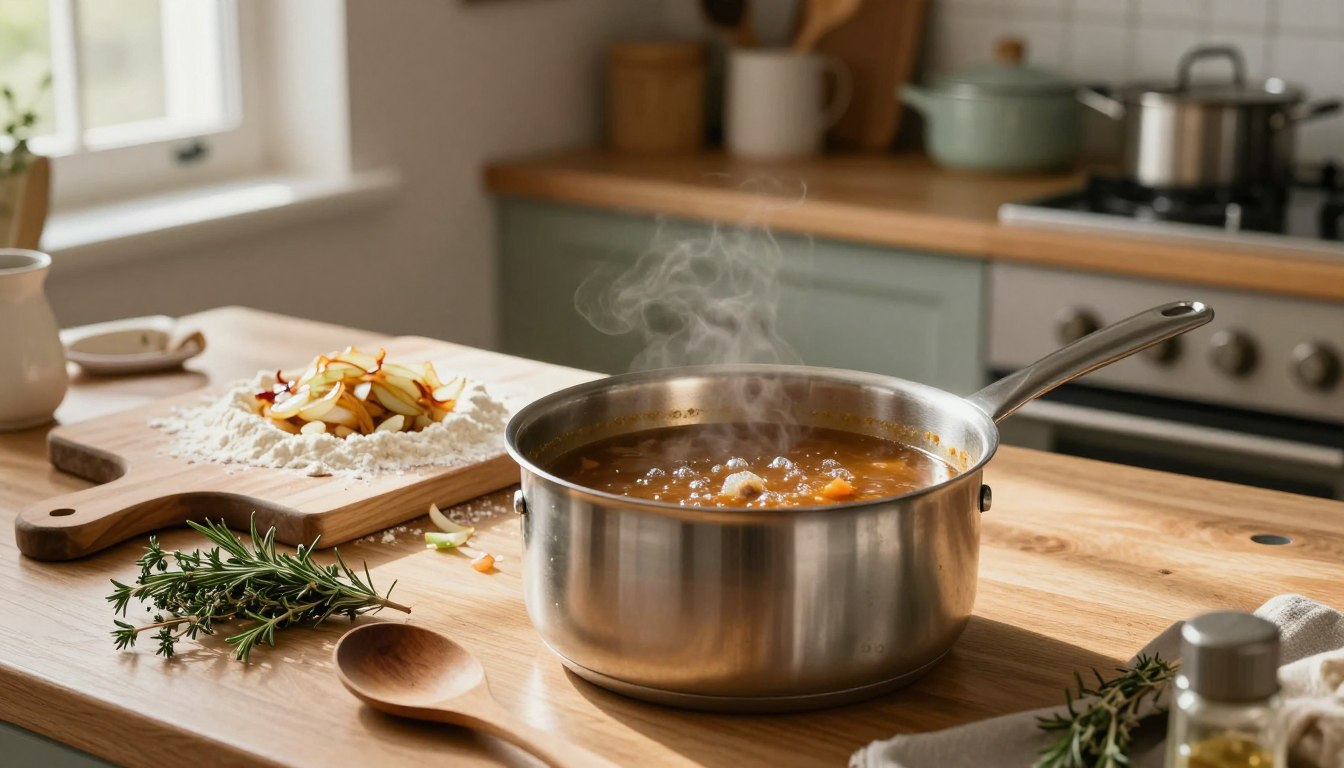
Whisk flour into the warm fat in your pan. Cook it for one to two minutes so the raw flour taste disappears.
Adjust the heat to prevent the roux from burning
Keep the burner on medium-low. If the roux turns dark brown too fast, it may taste bitter, so constant attention keeps it golden and nutty.
Whisk in the beef broth gradually
Add a small amount of liquid first to form a smooth paste
A tiny first splash of broth helps make an easy beef gravy recipe. Whisk it hard until you have a thick, smooth paste before adding more liquid.
Continue whisking as you add the remaining broth
Slowly stream in the remaining broth while whisking. Steady whisking blends the liquid smoothly with the roux.
Simmer the gravy until it thickens
Look for a coating consistency on the back of a spoon
Let the mixture reach a gentle simmer. Your beef gravy recipe is ready when it coats a spoon without running off.
Stir frequently to keep the bottom from scorching
Gravy thickens quickly, so stir the pan bottom often. This keeps bits from sticking or burning and protects the sauce’s flavor.
Season and finish the gravy
Taste before adding more salt
Taste the gravy before adding salt. Pan drippings and store-bought broths often contain much sodium, so balance is key.
Strain the finished gravy for an especially smooth texture
For a restaurant-style finish, pour the gravy through a fine-mesh strainer. It removes stray herbs and bits, leaving a silky, professional result.
“Good gravy is the soul of a well-cooked meal, turning simple ingredients into a masterpiece of flavor.”
- Whisk flour into the hot fat and cook for two minutes.
- Add a splash of broth to create a smooth paste.
- Gradually whisk in the remaining broth until fully incorporated.
- Simmer the mixture until it coats the back of a spoon.
- Taste the gravy and adjust seasonings as needed.
- Strain the sauce for a perfectly smooth texture.
How to Get Smooth, Rich, and Flavorful Gravy
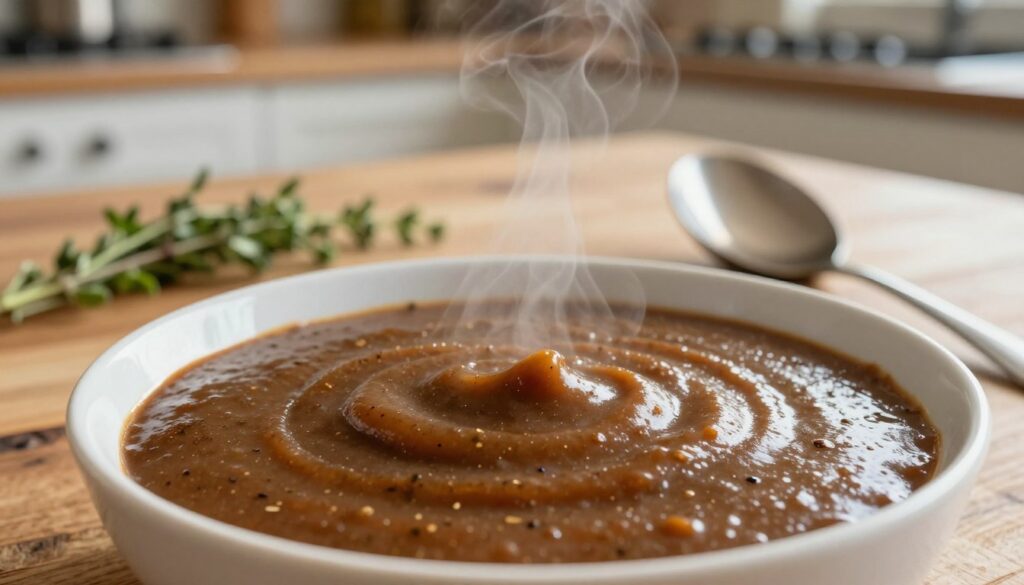
Making a smooth, rich, and flavorful beef gravy rewards you with every bite. Even after minor cooking issues, you can adjust the sauce to reach the right consistency. With a few simple techniques, you can master the perfect pour.
Prevent lumps while adding the broth
Lumps form when liquid enters the roux too quickly. Pour warm beef broth in a slow, steady stream while whisking vigorously. Constant motion creates a silky, lump-free texture.
Fix gravy that is too thick
If your savory beef gravy becomes too thick, do not worry. Whisk in small amounts of warm broth or water until it reaches your desired consistency. Adding liquid gradually keeps the sauce from becoming too thin.
Thicken gravy that is too thin
A thin sauce often lacks the body needed to coat food properly. Before adding more thickener, try these professional methods to improve its texture.
Allow extra simmering time before adding more thickener
Sometimes, your gravy needs more time on the heat. Let it simmer gently for a few extra minutes; this reduces the liquid and thickens it naturally. Patience is key before adding flour or starch.
Use a flour slurry or cornstarch slurry correctly
If simmering fails, use a slurry to thicken your flavorful beef gravy. Mix equal parts cold water and flour or cornstarch in a small jar until smooth. Whisk it into the simmering sauce, then cook it for at least two minutes to remove the raw starch taste.
Balance overly salty, bitter, or bland gravy
If your sauce tastes too salty, add a small splash of water or a pinch of sugar. For bland flavors, a dash of Worcestershire sauce or fresh herbs can provide a much-needed boost. If the sauce tastes bitter, add a tiny amount of heavy cream or butter to mellow it.
Use a whisk and strainer to rescue uneven texture
If you still notice small lumps or uneven bits, do not discard your hard work. Pour the finished savory beef gravy through a fine-mesh strainer into a clean bowl. This catches stray particles and creates a professional, velvet-smooth finish every time.
Serve Beef Gravy With Your Favorite Meals
A pot of traditional beef gravy can turn a simple dinner into a gourmet experience. This versatile sauce adds rich flavor to comfort foods and creates a restaurant-quality meal.
Pour the gravy over mashed potatoes
Few foods pair better with creamy mashed potatoes than a generous ladle of savory sauce. The potatoes absorb the gravy, creating a luxurious texture that defines classic comfort food. Their richness balances the reduction’s saltiness perfectly.
Pair it with roast beef, meatloaf, and steak
When you serve hearty proteins, a flavorful beef gravy provides the perfect finishing touch. It enhances roast beef’s natural juices and adds moisture to leaner cuts like steak. Even humble meatloaf benefits from a thick coating that brings its savory flavors together.
“Good food is the foundation of genuine happiness, and a well-made sauce is the heart of the meal.”
Use it with biscuits, rice, egg noodles, or roasted vegetables
Do not limit gravy to meat and potatoes. Pour your delicious beef gravy over warm, flaky biscuits for a Southern-inspired breakfast or lunch. It also works well with buttered egg noodles, steamed rice, and roasted root vegetables, like carrots and parsnips.
Keep the gravy warm without allowing it to form a skin
Keeping the right temperature helps create the best dining experience. In a cold bowl, the sauce quickly loses appeal and forms an unappetizing film. Keep your gravy in a warm, covered vessel until serving.
Stir occasionally and loosen with warm broth when necessary
Stir the mixture every few minutes to keep its consistency smooth. If the sauce thickens while sitting, whisk in a small splash of warm beef broth. This simple trick prevents an overly gelatinous texture.
Make-Ahead, Storage, and Reheating Instructions
Leftovers need careful handling after cooking. A batch of homemade beef gravy should stay fresh and flavorful for your next meal. Proper storage prevents spoilage and protects the sauce’s quality.
Cool and refrigerate homemade beef gravy safely
Let the sauce cool before refrigerating it. For food safety, do not leave it at room temperature longer than two hours. Place the saucepan in a shallow ice water bath to cool it faster.
Store gravy in an airtight container
After it reaches room temperature, pour it into a clean, airtight container. This essential step blocks odors from other foods in your refrigerator. A sealed container keeps the sauce delicious for up to three or four days.
Freeze gravy for longer storage
If you will not use your homemade beef gravy within a few days, freeze it. Pour the cooled sauce into freezer-safe bags or containers, leaving space for expansion. It keeps its best quality for up to three months in the freezer.
Reheat gently on the stovetop or in the microwave
When ready to serve, reheat the sauce slowly to prevent scorching or separation. Low stovetop heat provides the most even warming. For microwave reheating, use short intervals and stir often so the heat spreads evenly.
Whisk in broth or water to restore the original consistency
Stored sauce often becomes much thicker in the cold. While heating, whisk in a small splash of beef broth or water to restore its original, silky texture. This trick helps your homemade beef gravy look and taste as good as when you made it.
| Storage Method | Temperature | Maximum Time |
|---|---|---|
| Refrigerator | 40°F or below | 4 Days |
| Freezer | 0°F or below | 3 Months |
| Countertop | Room Temp | 2 Hours |
Common Mistakes to Avoid
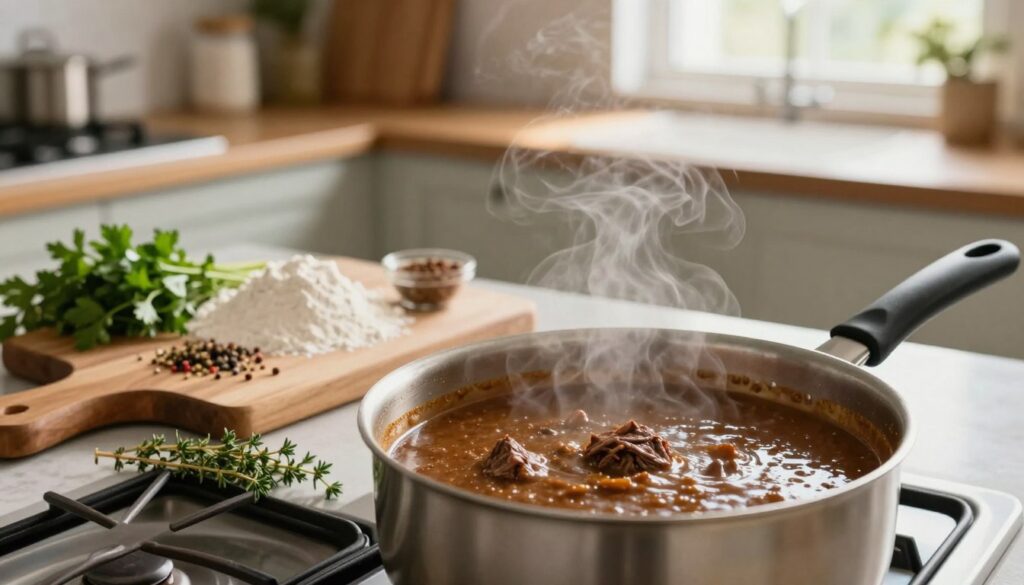
Mastering an easy beef gravy recipe takes careful attention to detail. Small mistakes can make sauce too thick, too salty, or bland. Spotting these problems helps you make smooth, delicious gravy every time.
Using too much flour or too little cooking fat
The roux forms your gravy’s base and needs the right balance of fat and flour. Too much flour with too little fat makes a dry, clumpy mixture instead of smooth paste. Make sure the fat fully coats the flour for a velvety base.
Adding cold broth too quickly
Adding cold liquid to a hot roux can cause lumps. Pour in broth slowly while whisking constantly. This lets the starch hydrate evenly and creates a silky texture.
Skipping the simmering stage
Many cooks rush the final step, but simmering matters in an easy beef gravy recipe. Simmering cooks away the flour taste and blends the flavors. Without enough heat, the gravy may taste raw or thin.
Over-seasoning before the gravy reduces
Seasoning early may seem tempting, but evaporation concentrates salt. Too much salt at the start can make thickened gravy unpleasantly briny. Wait until the end to adjust the salt and pepper.
Leaving burned bits in the pan
Browned bits add flavor, but charred or black pieces make sauce bitter. If the pan has dark, scorched spots, strain them before adding liquid. This keeps your gravy clean and savory.
Making the gravy too far in advance without reheating precautions
Gravy can thicken significantly as it cools and may form a skin. If you make it ahead, use an airtight container. During reheating, whisk in a splash of warm broth to restore its texture without lowering quality.
| Common Issue | Resulting Problem | Best Solution |
|---|---|---|
| Too much flour | Pastry-like texture | Add more fat or broth |
| Cold broth | Lumpy consistency | Whisk vigorously or strain |
| Early seasoning | Overly salty flavor | Dilute with unsalted broth |
| Burned pan bits | Bitter aftertaste | Strain through a fine mesh |
Easy Variations on Classic Beef Gravy
You can adapt kitchen staples to give traditional favorites a fresh twist. Modify your classic beef gravy for dietary needs or bold flavors while keeping its comforting texture.
Make a gluten-free beef gravy
If you avoid wheat, you can still achieve the right consistency. Replace all-purpose flour with a quality gluten-free blend or use cornstarch to thicken the gravy. Always whisk starch with a little cold liquid before adding it to hot broth.
Prepare a dairy-free version with drippings or oil
Many traditional recipes use butter, but you can make a dairy-free version. Use rendered beef drippings or neutral avocado or grapeseed oil for your roux. This keeps the sauce rich and savory without dairy.
Create onion beef gravy with caramelized onions
Add slow-cooked onions for a sweeter, more complex flavor. Cook thinly sliced yellow onions separately until they become deep golden brown. Stir them into the finished sauce for a delicious beef gravy that suits steak or mashed potatoes.
Add mushrooms for a deeper savory flavor
Mushrooms add rich umami flavor to your dish. Sauté cremini or shiitake mushrooms until tender and browned, then add them to the liquid. This simple step gives the meal a hearty, earthy taste.
Make a peppery country-style beef gravy
Choose a country-style version if you enjoy some heat. Add more freshly cracked black pepper during the final seasoning stage for a bold, spicy kick. Serve this satisfying gravy over warm, flaky biscuits.
| Variation | Key Ingredient | Best For |
|---|---|---|
| Gluten-Free | Cornstarch | Dietary Restrictions |
| Onion | Caramelized Onions | Sweet & Savory |
| Mushroom | Cremini Mushrooms | Earthy Depth |
| Country-Style | Black Pepper | Spicy Kick |
How to Adjust the Recipe for Different Portions
Whether you cook for two or twenty, scaling gravy is an essential skill. Learning how to make beef gravy for any crowd keeps your meal paired with rich, savory sauce. Adjust your measurements to keep the same high quality at any volume.
Scale the fat, flour, and broth together
To make more gravy, scale every main ingredient in the same proportion. If you double beef broth, double the fat and flour in the base. Keeping these parts balanced gives consistent results every time.
Keep the roux ratio consistent for reliable thickness
The roux is a mixture of fat and flour that forms your sauce’s base. For the right thickness, keep a 1:1 fat-to-flour ratio by weight or volume. This balance helps when learning how to make beef gravy that is not thin or pasty.
Use a wider pan for larger batches
When making more gravy, your pan’s surface area becomes important. A wider pan allows more evaporation, helping the liquid reduce and thicken faster. A shallow, wide pan helps the gravy reach the right texture sooner.
Allow additional time when preparing a double batch
A larger amount of liquid needs more time to reach a simmer. Do not trust a timer alone; judge the doneness by the texture and how the sauce coats the back of a spoon. Patience matters when scaling recipes for a holiday or large family gathering.
| Batch Size | Beef Broth | Fat (Butter/Drippings) | Flour |
|---|---|---|---|
| Small (2 cups) | 2 Cups | 2 Tbsp | 2 Tbsp |
| Medium (4 cups) | 4 Cups | 4 Tbsp | 4 Tbsp |
| Large (8 cups) | 8 Cups | 8 Tbsp | 8 Tbsp |
Conclusion
A perfect sauce starts with a balanced roux and steady whisking. You now have the skills to build a rich foundation that elevates any meal. This beef gravy recipe depends on patience during simmering to develop deep, complex flavors.
Always taste the sauce after it reduces to check the seasoning. Straining your mixture guarantees an exceptional, silky texture that impresses guests. Adjust the consistency before serving to meet your personal standards for quality.
Use this traditional beef gravy technique with roast drippings or high-quality store-bought broth. Experiment with dietary substitutions to suit your specific needs. Mastering the best beef gravy recipe gives you confidence to serve delicious beef gravy with any main course.
Practice these steps to refine your culinary craft in the kitchen. Your ability to create delicious beef gravy will transform simple dinners into memorable dining experiences. Enjoy perfecting your own signature version of this classic staple.