Easy Smothered Chicken Recipe for Cozy Family Dinners
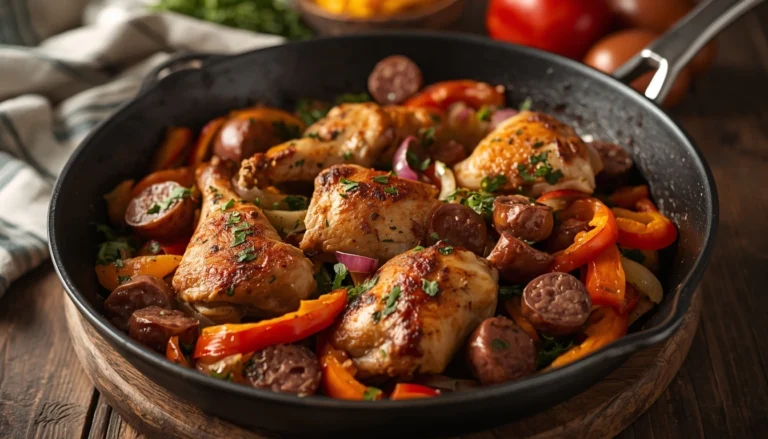
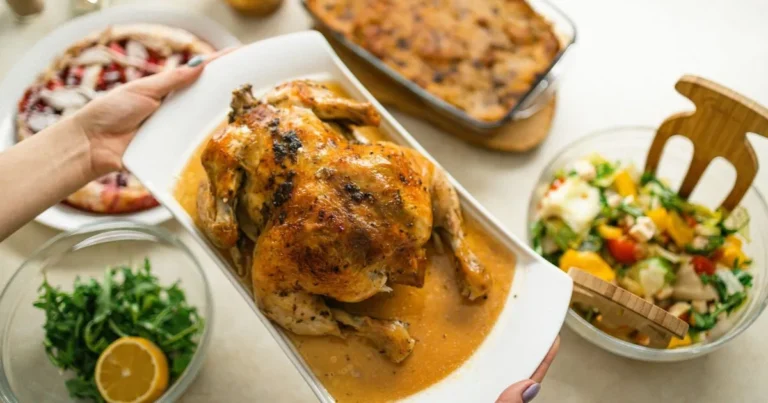
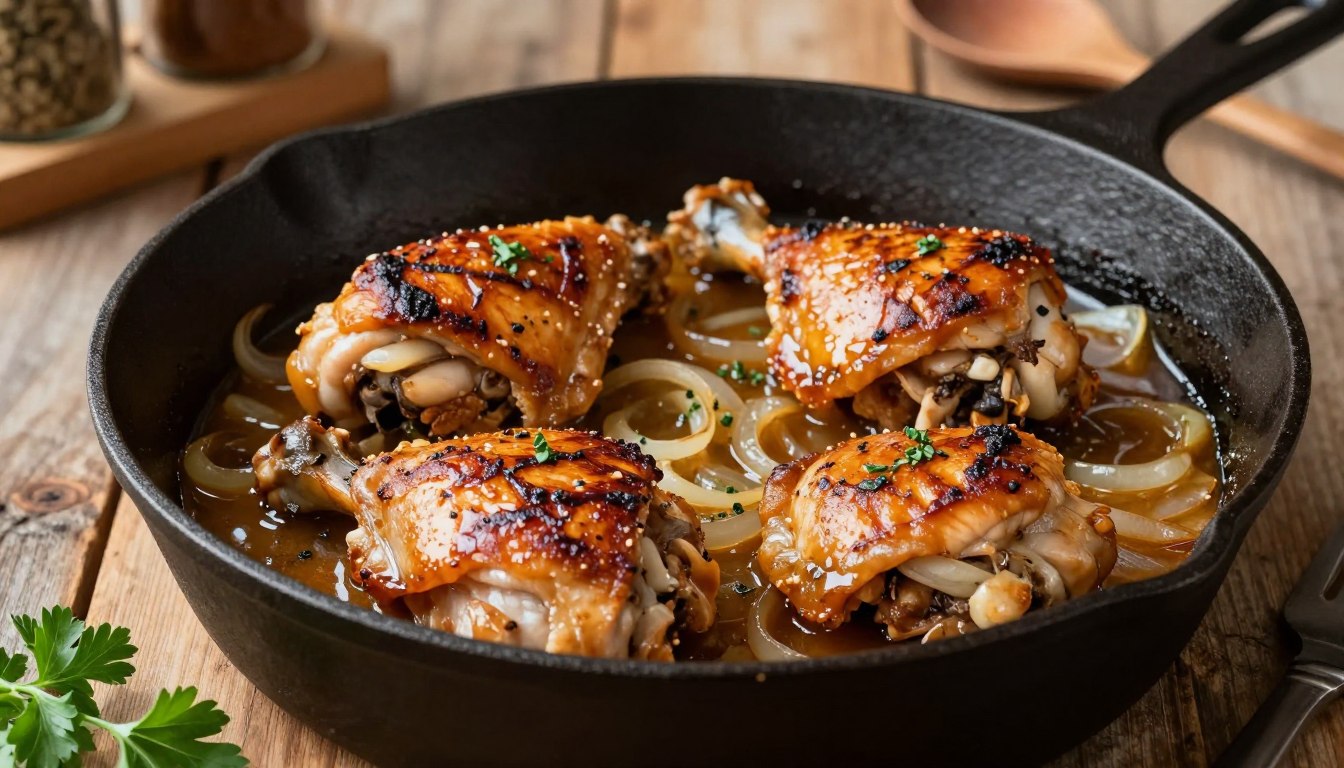
A skillet of browned chicken tucked into savory onion gravy is an inviting way to make a family dinner feel special. This smothered chicken recipe brings tender meat, rich pan flavor, and familiar comfort food to your table without fussy steps.
Table of Contents
Flour-dredged chicken browns in a large, heavy skillet, leaving savory bits behind. Onion and garlic flavor the gravy, which gently cooks the chicken until tender. The result feels right for a cozy family dinner, yet works well as an easy dinner on a busy night.
You can serve the chicken with rice, mashed potatoes, biscuits, or another favorite side. The gravy ties the plate together and makes every bite feel hearty. Let the gravy and a favorite starch turn this simple skillet meal into a cozy dinner.
What Defines Southern Smothered Chicken?
Southern smothered chicken is browned meat finished by cooking it gently beneath a savory gravy. Smothering means browning meat, adding vegetables and a moderate amount of liquid, then cooking it covered until tender. The covered simmer lets the chicken take on gravy flavor as it softens.
First, the hot pan browns the chicken and builds flavor in its browned bits. Onion and other seasoning vegetables soften in the same pan, then liquid lifts those bits into the sauce. Covered cooking holds in steam while the chicken finishes at a gentle pace.
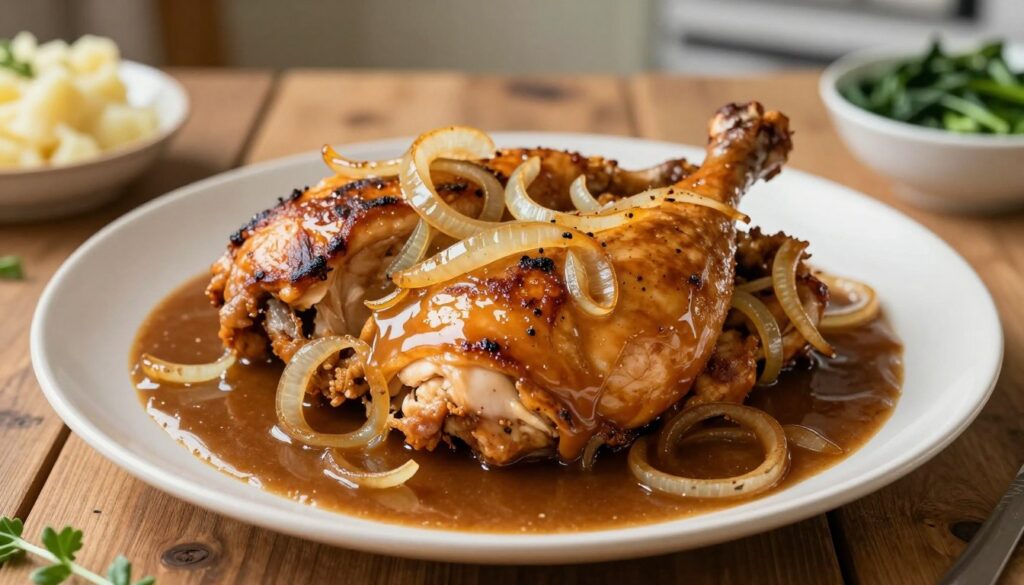
Family and regional versions can differ in seasoning, vegetables, and liquid. Some cooks use milk for a creamy gravy, while others rely on broth. A smothered chicken recipe for soul food centers on browned chicken cooked in gravy, not a particular cream soup.
A similar smothered-chicken recipe appeared in The Kentucky Housewife, published in 1839. That long history reflects how well the method suits home cooking: it turns a browned piece of meat and simple pantry items into a filling meal.
The dish belongs to a broad Southern cooking tradition, where cooks often build flavor in one pan and serve the gravy with starch. You can change the seasoning to fit your family without changing the core method. The defining step is letting the covered chicken finish cooking in the seasoned liquid.
Which Ingredients Build a Rich Onion Gravy?
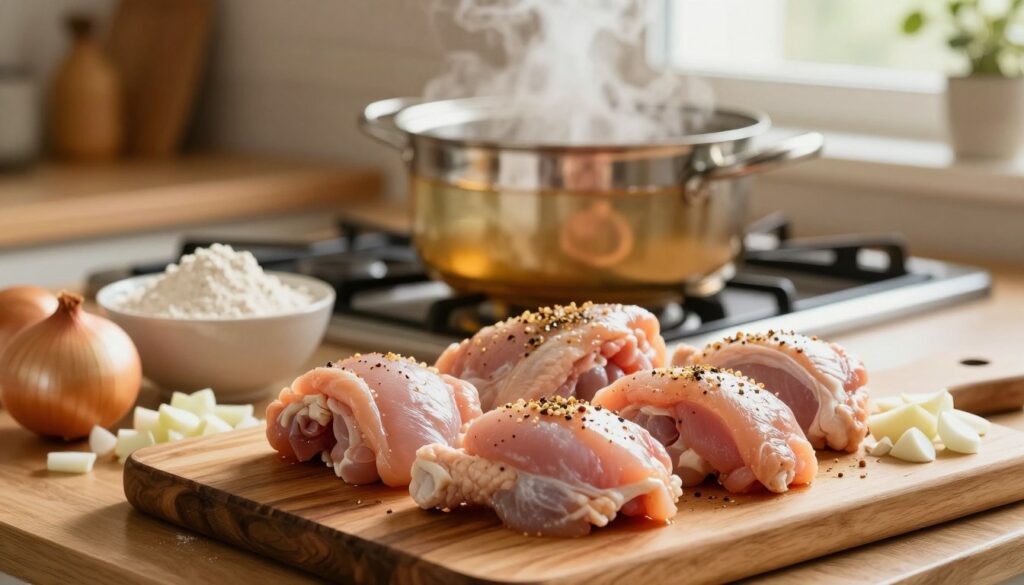
Bone-in legs and thighs suit a longer, gravy-forward simmer, while boneless cuts suit a quicker skillet dinner. Choose your chicken first, since the cut shapes the cook time and texture. Use flour, onion, garlic, and liquid to build a savory gravy in the same pan.
The main recipe pairs bone-in pieces with seasoned flour, onion, garlic, bouillon, water, and milk. Each ingredient has a clear job: the chicken provides rich flavor, and the flour helps the gravy cling to each piece.
Choose Chicken for the Texture You Want
Bone-in legs and thighs stay juicy through a longer simmer and give the gravy a deeper chicken flavor. Boneless, skinless chicken cooks faster, so it needs a shorter simmer and an earlier doneness check. Do not treat the two cuts as if they cook alike.
One baked version uses six bone-in chicken legs or thighs. That makes a good choice when you want a substantial dinner with tender meat that can finish cooking in gravy.
Seasoned Flour Adds Flavor and Body
Flour helps the coating brown and gives the gravy body later. Salt, black pepper, paprika, garlic powder, and onion powder season the flour and chicken at the same time. Shake off loose flour so the coating stays light instead of pasty.
For a bolder alternate profile, season flour with one tablespoon each of all-purpose seasoning and seasoned salt. Add two teaspoons each of garlic powder, onion powder, and paprika, plus one teaspoon each of black pepper and Cajun seasoning. Use half a teaspoon of poultry seasoning.
This alternate mix gives the chicken a more layered, savory heat. It is a flavor option, not part of the main recipe, so keep it separate if you want the milder onion gravy.
Build Gravy With Aromatics and Liquid
Onion brings sweetness as it softens, and garlic adds a warm, savory note. Chicken broth carries the browned pan flavor into the sauce. A broth-and-milk gravy is a familiar Southern combination, with milk rounding out the broth’s sharper taste.
Cooking fat helps the chicken brown and gives the onion a base to soften in. A separate recipe uses two tablespoons of avocado oil, with olive oil as an alternative. Use a large, heavy skillet so the chicken and aromatics have room to cook.
Set out the onion and garlic before heating the pan so the aromatics are ready when the chicken is browned.
Should You Cook It on the Stove or in the Oven?
Choose the stovetop when you want to watch and adjust the gravy, and the oven when you prefer a covered bake. The stovetop offers more direct control over the sauce as it simmers. Oven cooking gives you a hands-off covered stage, but you still need to check the chicken.
Stovetop cooking times differ by recipe and cut. The broth-and-milk version simmers covered for 30-35 minutes, while a seasoned-flour version simmers for 20-25 minutes or until fully cooked.
Stovetop Smothering
A skillet lets you see how the gravy changes as it cooks. You can lower the heat if the sauce bubbles too hard, or stir if it begins to catch. This method works well when you want to stay near the stove and keep an eye on the pan.
Covered Oven Baking
The oven method bakes the chicken at 350°F, covered first and uncovered later. Its 45-50 minutes refers to baking time, not the total time needed to prepare the meal. Choose this approach when you want the covered stage to cook without frequent attention.
| Method | Cooking setup | Time |
|---|---|---|
| Broth-and-milk stovetop | Covered simmer | 30-35 minutes |
| Seasoned-flour stovetop | Covered simmer | 20-25 minutes or until fully cooked |
| Oven method | Covered, then uncovered at 350°F | 45-50 minutes of baking |
Pick the cooking method that leaves you room to check doneness rather than relying on time alone.
How Should You Season and Dredge the Chicken?
Dry chicken takes a more even coating of seasoned flour and browns more readily in the pan. A light coating is enough to flavor the meat and help the gravy thicken. Brown the chicken in a single layer so it sears instead of steaming.
Season the flour before coating the chicken, then shake away loose flour. For bone-in pieces, sear for about three minutes per side. Work in batches if the large, heavy skillet cannot hold the pieces with space between them.
- Pat the chicken dry with paper towels.
- Coat each piece evenly in seasoned flour, then shake off excess.
- Brown the chicken in a single layer, turning to sear both sides.
- Transfer the chicken to a plate and leave browned bits in the pan.
Overcrowding traps moisture around the chicken, so the pieces steam rather than brown. Batches take a little more time, but they give each piece better contact with the hot pan.
Do not pack dredging flour onto the meat. Excess flour can scorch in the oil and leave a pasty coating that will not improve the gravy.
Keep the browned bits unless they are blackened, since those browned bits can flavor the gravy.
Easy Smothered Chicken Recipe
This easy smothered chicken recipe uses six bone-in pieces and a covered stovetop simmer, so you can make it without turning on the oven. This well-seasoned version gives you tender chicken and a gravy-forward result for a classic family meal. It is a good choice when you want a soul-food-style dinner built around chicken and gravy.
You will use one large, heavy skillet for browning the chicken, softening the aromatics, and finishing the gravy. Gather the ingredients before you begin so the onion and garlic are ready when the browned chicken comes out.
Season and Dredge the Chicken
Use three chicken legs and three chicken thighs, all bone-in. Mix the flour and seasonings in a shallow bowl, then coat the chicken evenly and shake off the extra.
- Six bone-in chicken pieces: three legs and three thighs
- One cup all-purpose flour
- One and one-half teaspoons salt; one teaspoon onion powder
- One-half teaspoon garlic powder; one teaspoon paprika
- One teaspoon black pepper; one-half teaspoon allspice
- One-quarter teaspoon cinnamon; one-quarter teaspoon heaped ginger
- One-half cup vegetable oil; one large onion, sliced
- One chicken bouillon cube; two and one-half cups cold water
- One-half cup milk
The flour mix brings a warm, savory seasoning with a hint of spice. Keep the coating light, since the remaining flour can burn in the oil before the chicken browns.
Brown the Chicken and Soften the Aromatics
Heat the vegetable oil in the skillet over medium heat. Brown the chicken in batches, leaving room between pieces, then transfer each batch to a plate. Leave the browned bits in the pan for the gravy.
Add the sliced onion to the same skillet and cook for two to three minutes. Stir in the garlic and cook for one to two minutes, until fragrant. Keep the heat moderate so the garlic does not burn.
Make the Gravy and Simmer Until Tender
Stir the chicken bouillon into the cold water until it dissolves. Pour the liquid into the skillet and scrape up browned bits. Stir in the milk, then return the chicken and any plate juices to the pan.
Bring the gravy to a gentle simmer, then cover the skillet. Cook for 20-25 minutes, or until the chicken is fully cooked. Use the instant-read thermometer check in the safety section to confirm doneness.
The gravy should bubble gently rather than boil hard. If the pan looks too active, lower the heat; a steady, mild simmer helps the meat cook without roughening the sauce.
Keep the pan covered during the simmer so the chicken cooks gently in the gravy.
Can You Make Smothered Chicken With Chicken Breasts?
Yes, you can make smothered chicken with breasts, especially if you cut them into evenly thin cutlets. Thin pieces cook quickly and can still pick up flavor from the gravy. Breast meat needs less simmering than bone-in legs and thighs.
One cutlet method starts with three medium boneless, skinless breasts weighing about one and one-half pounds. Slice each breast horizontally, then pound thicker spots to one-quarter inch for an even shape.
Thin Cutlets Cook Quickly
Brown the cutlets for three to five minutes per side, then simmer them in gravy for five to six minutes. Those times belong to this thin-cutlet method, not to the bone-in recipe. Take care not to leave the meat in the pan for a long, slow simmer.
A different skillet recipe uses three to four breasts with broth, milk, and Worcestershire sauce. It calls for two to three minutes per side and 25 minutes total, so its timing and liquid amounts should stay with that recipe.
Adjust the Gravy to Suit Breast Meat
For the cutlet method, build a simple gravy with chicken broth, butter, onion, and garlic. The cutlets brown first, then finish briefly in the gravy. Butter brings a soft richness, while onion and garlic give the sauce a savory base.
Use chicken broth to loosen the pan flavor and keep the gravy smooth. Since the meat is thin, it does not need the longer covered cooking used for legs and thighs.
Check breast cutlets early because their thinner shape can dry out during a long gravy simmer.
What Temperature Should Smothered Chicken Reach?
Chicken is safe when its internal temperature reaches 165°F, measured with an instant-read thermometer. Check the thickest meat, not just the outside of the piece. The temperature, not meat color or the recipe timer, determines whether chicken is safe to serve.
The USDA safe minimum internal temperature is 165°F for all chicken cuts. Thighs and drumsticks often have a more tender texture at 170-175°F, though 165°F remains the safe minimum.
| Cut or check | Safe minimum | Practical thermometer guidance |
|---|---|---|
| All chicken cuts | 165°F | Check the thickest part |
| Thighs and drumsticks | 165°F minimum | 170-175°F can give a more tender texture |
| Bone-in thighs or legs | 165°F minimum | Insert near the bone without touching it |
For breast meat, aim the instant-read thermometer into the thickest area. A thin cutlet may need a careful angle so the probe measures the meat rather than passing through it.
For bone-in thighs or legs, place the thermometer near the bone, but do not let the tip touch it. Insert the thermometer into the thickest meat without touching bone, which can give a misleading reading.
How Do You Fix Gravy That Is Too Thin or Thick?
The easiest way to correct gravy is to adjust it gradually, then give it a moment to simmer before changing it again. Small changes are easier to control than a large pour of liquid or flour. Gravy is ready when it coats the back of a spoon.
Thin gravy often needs more time over gentle heat, while a thick sauce needs a small amount of broth or milk. Lumps form when dry flour hits hot liquid all at once, so blend flour with cool liquid before adding it.
Thin or Lumpy Gravy
Let thin gravy simmer uncovered so some liquid can reduce. Stir as it cooks and give the sauce time to thicken before making another change. A moderate amount of liquid should leave gravy thick enough to coat a spoon.
To thicken without lumps, whisk a little flour into cool broth or water first. For gravy made from baking liquid, cool about one cup of broth for a few minutes, then whisk in flour before stirring it into the pan.
A roux is another option for a smooth sauce. Cook butter and flour together for one to two minutes, then gradually whisk in broth and milk. This method gives the flour time to blend with the fat before liquid reaches it.
Thick or Greasy Gravy
Thin thick gravy with broth or milk, adding only a small splash at a time. Stir, let the gravy simmer briefly, then check whether it coats the spoon. Milk keeps the sauce creamier, while broth gives it a more savory taste.
If fat pools on top, spoon off the excess rather than adding flour. More flour can make the sauce heavy without fixing the oily feel.
- Simmer uncovered to reduce thin gravy.
- Whisk a small amount of liquid into flour before adding it.
- Thin thick gravy gradually with broth or milk.
Add liquid a little at a time so the gravy stays spoon-coating instead of turning watery.
Which Smothered Chicken Variations Can You Make?
You can adapt the dish for an oven, a shortcut creamy sauce, or a Cajun-inspired flavor profile. Keep the method matched to the ingredients, since each variation changes how the gravy forms. Recipe quantities and cook times differ across these options.
The main skillet recipe uses broth, milk, and seasoned flour for its gravy. Other versions may rely on cream, a packaged soup, or a different flour, so follow one version rather than combining their amounts.
How the Oven Method Works
An oven version starts with chicken and gravy in a baking dish. Cover the pan tightly with foil during the first stage to trap steam and help retain moisture. Uncover it for the final stage so the dish can finish baking.
This approach suits cooks who want a hands-off cooking stage. Use an oven-safe pan or baking dish, and keep its cover secure during the covered portion.
Using Cream of Chicken Soup
Cream of chicken soup can replace part of the from-scratch gravy as a shortcut. It changes the sauce’s flavor and texture, so add broth gradually until the gravy reaches the thickness you like.
Stir the soup and broth until smooth before returning chicken to the sauce. Add liquid in small amounts, since a creamy base can loosen quickly once it heats.
Cajun and Gluten-Free Twists
A Cajun-style version can use boneless thighs, cassava flour, and gluten-free chicken broth. One such recipe simmers for 20 minutes, but its ingredients and timing differ from the bone-in skillet version.
A separate gluten-free option uses a one-to-one flour blend labeled for gravies and sauces in place of all-purpose flour. Check the package directions, since blends can thicken at different rates. For gluten-free cooking, check the flour and broth labels as well as the other packaged ingredients.
What Should You Serve With Smothered Chicken?
White rice and mashed potatoes are classic choices because both hold the savory gravy. A gravy-catching starch makes the chicken feel like a full dinner, while a vegetable adds contrast. Pair one starch with one vegetable for a balanced plate.
White rice works well when you want the gravy to soak through the grains. Mashed potatoes give you a soft base, while biscuits can catch gravy at the edge of the plate.
- White rice
- Mashed potatoes
- Biscuits
- Green beans or collard greens
- Roasted vegetables
Basmati rice and brown rice are good alternatives to plain white rice. Choose the kind you enjoy, since the gravy works with either one.
Green beans and collard greens bring a fresh, savory side to the plate. Roasted vegetables add more color and a firmer texture beside the tender chicken.
Rice, potatoes, and biscuits catch the gravy, while a vegetable makes the plate feel more balanced. Choose one gravy-catching starch and one vegetable for an easy, balanced dinner plate.
How Do You Store and Reheat Leftovers?
Store leftover chicken with the gravy so the meat stays moist as it chills. Refrigerate it promptly in an airtight container, and keep the food away from room temperature beyond the safe limit. Refrigerated leftovers keep for up to four days.
Refrigerate perishable food within two hours, or within one hour when the temperature is above 90°F. Freeze leftovers in a suitable airtight container if you will not eat them within four days.
| Situation | Time limit | What to do |
|---|---|---|
| Refrigerator | Up to 4 days | Seal chicken with gravy in an airtight container |
| Freezer | Up to 3 months | Freeze in a suitable airtight container |
| Room-temperature holding | 2 hours, or 1 hour above 90°F | Refrigerate promptly or discard if left out longer |
Frozen leftovers keep for up to three months. Pack chicken with enough gravy to cover the pieces, which helps protect the meat from drying out during storage.
Gentle stovetop reheating helps the chicken stay moist and the gravy stay smooth. Avoid high heat, which can cause a milk-based sauce to separate. Reheat gently over low heat and stir in a little broth or milk if the gravy has thickened.
Conclusion
A pan of tender chicken and savory gravy makes a comforting dinner without requiring complicated techniques. Browning builds the base flavor, and a gentle gravy simmer gives the chicken time to turn tender. Those two steps do most of the work.
Choose the chicken cut and cooking method that fit your dinner plans. Bone-in pieces suit a longer meal, while thin breasts work for a quicker skillet version. An instant-read thermometer gives you a clear doneness check without relying on the clock.
Serve the gravy with a starch and add a vegetable for a well-rounded plate. Set out your skillet and ingredients, then choose a favorite starch to serve alongside the finished dish.
FAQ
Can you use boneless chicken thighs instead of bone-in pieces?
Do you need to marinate chicken before making smothered chicken?
Can you make smothered chicken without milk?
Can you leave the skin on the chicken?
How do you keep flour from clumping in gravy?
Can you prepare the seasoned flour ahead of time?
Ready to master more kitchen favorites? Explore all our tested chicken and beef recipes step by step read more
What Did You Think? Rate This Recipe
Absolutely Tender and Packed with Flavor!
I followed this guide step by step and the beef shank came out amazingly tender and full of flavor. The tips on maintaining moisture made all the difference. Highly recommended for anyone trying this cut for the first time!