Easy Nashville Hot Chicken Recipe (Better Than Takeout)
Table of Contents
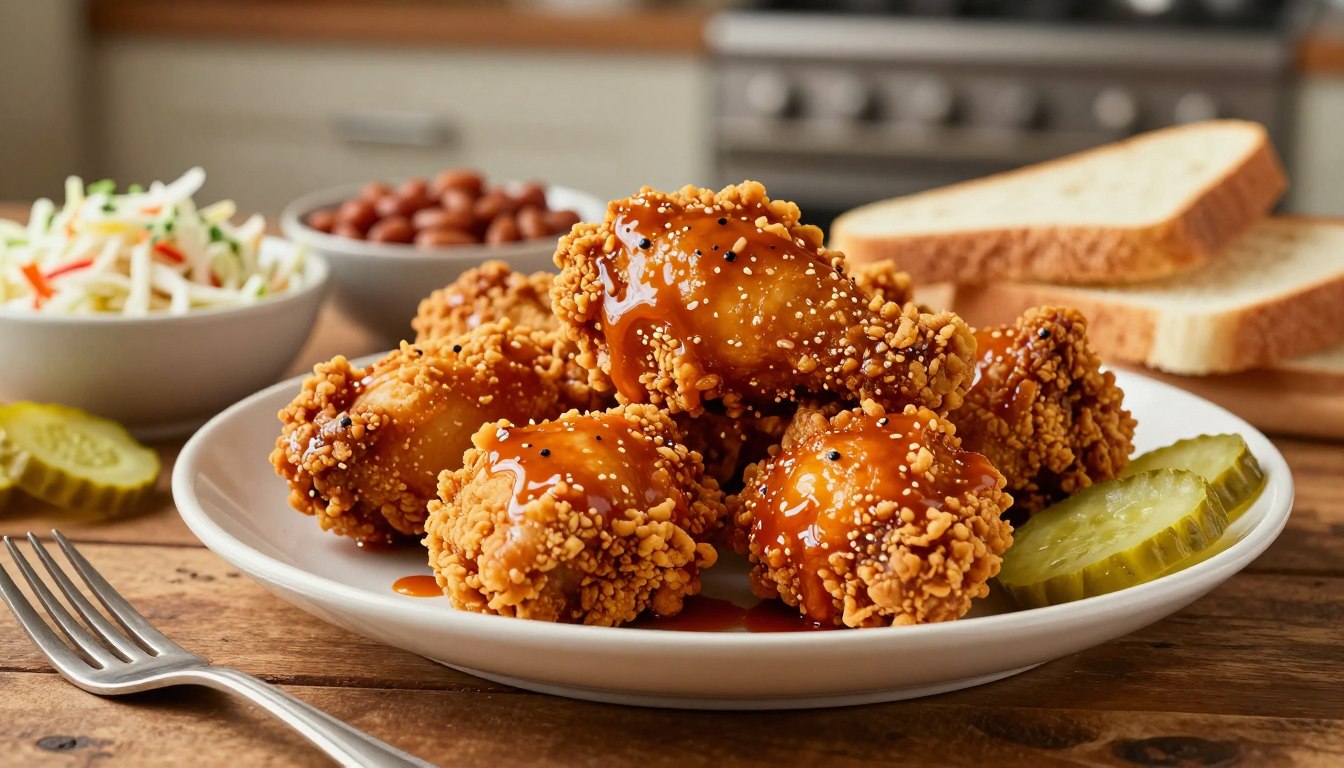
A crisp coating and a buttery cayenne glaze are within reach in a home kitchen, without complicated equipment. This Nashville hot chicken recipe uses familiar pantry seasonings and clear steps, so you can cook a satisfying meal without special gear. The double dredge means coating chicken in seasoned flour, dipping it in buttermilk, then coating it in flour again.
You can make the recipe with boneless thighs or bone-in pieces. The cut and thickness affect the cooking time, so plan to check the center with a thermometer. A one-hour marinade gives the boneless batch a head start on flavor, while the crust gets time to set before frying. The cayenne oil glaze adds the familiar spicy finish, and you control how much goes on each piece.
That control helps when your table includes different spice tastes. Start with a light coat, then serve extra glaze on the side for anyone who wants more. You can make the spice level gentler by brushing on less glaze.
Nashville Hot Chicken Recipe: Ingredients and Timing
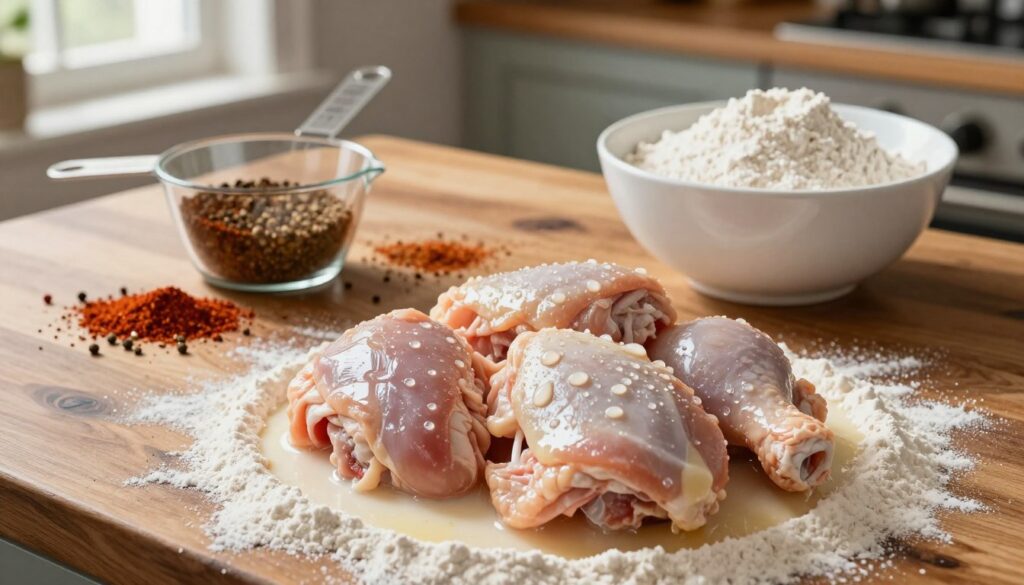
A four-thigh batch keeps the shopping list and frying in manageable home-kitchen quantities. Boneless thighs are the easiest choice for a first attempt, and the marinade takes one hour.
This balanced small batch gives you a crisp crust, seasoned chicken, and adjustable heat without a huge pot of food. Bone-in chicken needs its own cooking-time checks because pieces can vary in size.
Build a four-thigh batch
Gather these ingredients for the chicken and its coating:
- Chicken and marinade: 4 boneless, skinless chicken thighs, 1.5 lb total; 1 cup buttermilk; ¼ cup pickle juice; ¼ cup hot sauce.
- Dredge: 1 cup all-purpose flour, ¼ cup cornstarch, and 1 teaspoon baking powder.
- Seasoning: 2 tablespoons cayenne, 1 teaspoon brown sugar, ½ tablespoon paprika, 1 tablespoon chili powder, 1 tablespoon garlic powder, ½ teaspoon black pepper, and 1 tablespoon salt.
- Frying: about 2 cups vegetable oil for the shallow-fry method.
This easy Nashville hot chicken recipe uses familiar ingredients, and its modest size makes it easier to handle than a large batch. The pickle juice and hot sauce season the marinade, while cornstarch helps the flour coating turn crisp.
Scale the recipe for bone-in pieces
For eight bone-in pieces, one version uses 3-4 pounds of chicken and takes 1 hour 34 minutes total, including one hour of brining. Another option starts with a 3½-4-pound chicken cut into 10 pieces, plus 2 large eggs, 1 cup buttermilk, 1 tablespoon vinegar-based hot sauce, and 2 cups flour.
Those amounts belong to separate recipes, not the four-thigh batch above. One alternate wash uses 1½ cups buttermilk and ¼ cup hot sauce, with 2 cups flour, ¼ cup cornstarch, and 3 tablespoons Creole seasoning.
Choose one ingredient set and cut of chicken before you start so the measurements stay consistent.
How Do You Brine and Bread the Chicken?
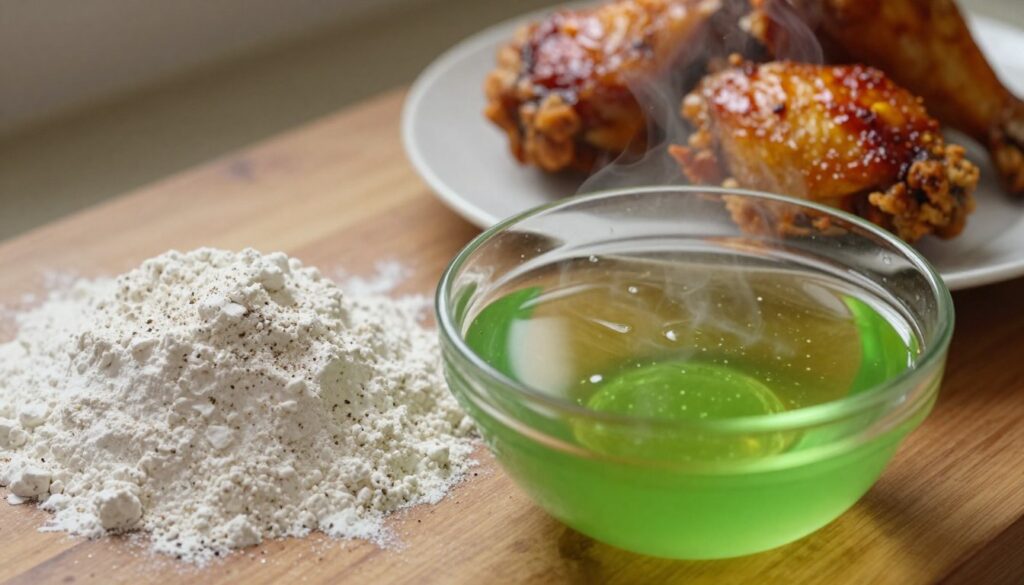
Brine the chicken before breading it, then press each flour coating onto the surface. That early seasoning builds flavor inside the chicken, while a short rest helps the crust stay attached.
Choose a brine that fits your schedule
The main marinade uses buttermilk, pickle juice, and hot sauce for one hour. A pickle brine instead combines 1¼ cups dill pickle juice with 3 tablespoons sugar; refrigerate the chicken for at least one hour or up to overnight.
A dry brine works without a wet marinade: season with 1 tablespoon kosher salt and 1½ teaspoons freshly ground black pepper. Leave it for at least three hours or overnight. Another option blends buttermilk, bay leaves, and spice rub, then chills the chicken for at least three hours.
A Nashville hot chicken recipe without buttermilk can use a quick milk substitute. Stir 3 tablespoons vinegar or lemon juice into enough milk to make 3 cups, then let it rest for 5-10 minutes. The milk will thicken slightly and add the tang needed for the wash.
Let the coating adhere before frying
Set out two bowls: one for seasoned flour and one for buttermilk. Lift a piece from the brine, coat it in flour, dip it in buttermilk, then return it to the flour. Press the second coat on gently, including around the edges.
Arrange the coated pieces on a rack or tray and rest them for 15-20 minutes. The flour can hydrate and cling to the chicken during this pause. If you skip the rest, the coating may slide off when the pieces move into the hot oil.
Keep the coated pieces separate while they rest so their crusts do not stick together.
How Do You Fry Chicken Until Crisp and Cooked Through?
A thermometer gives you a steadier result than judging the oil by color or sound. Keep the oil near 325°F, and use an instant-read thermometer to check both the oil and chicken. Poultry needs to reach at least 165°F inside.
Heat vegetable oil in a heavy pot or skillet, then add a few pieces without crowding them. One shallow-fry method uses about 2 cups oil for two thighs at a time; deeper setups may use 10 cups or 2-2½ inches of oil.
- Check the oil temperature before each batch, aiming for 325°F during frying.
- Leave space between pieces so the oil can move around the chicken.
- Turn the pieces gently to protect the crust.
- Drain the fried chicken on a wire rack, where the underside stays above pooled oil.
- Check the thickest part with an instant-read thermometer.
The oil temperature drops when cold chicken enters the pot, so let it recover before adding another batch. A steady temperature helps the crust brown while the center cooks. Dark thigh and leg meat is often cooked longer, around 175°F to 190°F, for tenderness.
If the crust darkens before the center is cooked, finish the pieces in a 350°F oven and check the center with a thermometer.
How Do You Make the Cayenne Oil Glaze?
The glaze is a spice mixture loosened with hot frying oil, brushed onto the cooked crust. It brings the heat without soaking the chicken like a thin sauce, and the oil-based coating helps the crust stay crisp longer.
Mix a measured cayenne oil glaze
Two measured versions give you different ratios of cayenne, oil, and seasoning. Stir the spices into hot oil, then brush the mixture onto the cooked chicken.
| Version | Hot oil | Cayenne | Sweetener | Other seasonings |
|---|---|---|---|---|
| ThermoWorks-style formula | 1 cup hot frying oil | 6 tablespoons | 2 tablespoons brown sugar | 1 teaspoon each chili powder, garlic powder, and paprika |
| S1 formula | ¾ cup reserved frying oil | ¼ cup ground cayenne | 1 tablespoon brown sugar | 1 tablespoon smoked paprika, 2 teaspoons chili powder, 1 teaspoon garlic powder, 1 teaspoon salt |
An authentic Nashville hot chicken recipe uses a cayenne-spice oil topping. The cayenne settles quickly, so a brush dipped in thinner oil gives milder heat. Stirring or scooping from the bottom brings up more spice and makes each bite hotter.
Adjust the heat without making the crust soggy
Brush the glaze on in a thin layer instead of pouring it over the chicken. Add more only where you want a stronger cayenne taste. The spice settles again as the glaze sits, so stir it before coating pieces that need more heat.
For a Hattie B’s Nashville Hot Chicken recipe, its seasoning profile can guide a copycat-style flavor, but it is not a full chicken recipe. The listed blend includes spices, brown sugar, salt, sugar, garlic powder, onion powder, refined soybean oil, and less than 2% tricalcium phosphate to prevent caking. Hattie B’s describes cayenne and habaneros as sources of heat, balanced by brown sugar. Its Hot seasoning profile is a flavor reference, not a complete cooking method.
Start with a light brush of glaze, then add more only after tasting a bite.
Can You Make Nashville Hot Chicken in an Air Fryer or Oven?
An air fryer or oven gives you a way to make the dish without a pot of frying oil. Both options work, but their coatings and cooking times differ from deep-fried chicken. Check the thickest piece for at least 165°F.
Air-fry a crisp coating
One air-fryer recipe heats the basket to 375°F, then cooks chicken for 5-6 minutes per side. Another uses 1½ pounds boneless, skinless thighs, 1½ cups buttermilk, and 1 tablespoon hot sauce; it cooks at 400°F for 10 minutes, with a halfway flip.
That 400°F method preheats a 4-quart air fryer for three minutes and cooks two thighs at a time. A different marinade uses 1 tablespoon pickle juice, 1 tablespoon hot sauce, and ½ teaspoon salt for at least one hour. Its coating and egg-buttermilk wash use flour, black pepper, salt, hot sauce, and pickle juice.
Air-fryer brands and chicken thickness change the cooking time, so the thermometer matters more than the clock. The coating may not match the deep-fried crust, but a well-spaced basket helps the surface cook evenly.
Bake tenders in the oven
For baked tenders, marinate 1 pound boneless, skinless chicken breast in 2 cups buttermilk for 6 hours or overnight, up to 48 hours. Coat it with 2 cups panko and ¼ cup arrowroot powder. Bake at 400°F for 20-25 minutes.
Make the baked sauce with 4 tablespoons butter or avocado oil and 1½ tablespoons hot chicken spice mix. Brush it over the tenders after baking. This oven method uses a panko coating rather than the flour coating used for frying, so expect a different crust.
For either method, check the thickest part of the chicken and cook it to at least 165°F.
What Should You Serve With Nashville Hot Chicken?
White bread and dill pickles give you the familiar way to serve the chicken. The plain bread catches the cayenne oil, while tangy pickles cut through the spice. Offer cooling sides so each person can balance the heat.
Choose a simple plate or build a sandwich with a few extras:
- Serve the chicken on two slices of white bread with dill pickles.
- Make a sandwich with a brioche bun, sliced pickles, and cabbage slaw.
- Put ranch dressing on the side for dipping.
- Add fries for a filling side that keeps the meal casual.
A butter-and-spice sauce can add another layer to a sandwich, but it is optional and not mild. Mix 1 stick unsalted butter, 1 tablespoon cayenne, ½ tablespoon hot paprika, 1 teaspoon garlic powder, ½ teaspoon onion powder, ½ teaspoon kosher salt, ¼ teaspoon ground pepper, 2 tablespoons white vinegar, and 1 tablespoon honey.
Use that sauce sparingly if you want the cayenne oil glaze to remain the main source of heat. The honey and vinegar add sweet and sharp notes, while cayenne and paprika bring more spice. Brioche and cabbage slaw make a soft, crunchy contrast to the fried chicken.
Put extra pickles on the table so each person can balance the heat to taste.
How Do You Store and Reheat Leftovers?
Chilled leftovers keep best when sealed after they have cooled. Store them promptly, then reheat only what you plan to eat. Warm the chicken until its center reaches 165°F.
| Situation | Storage or reheating method | Time or temperature |
|---|---|---|
| Refrigerator | Use an airtight container | 3-4 days |
| Freezer | Seal chicken in a freezer bag; thaw overnight in the refrigerator | Up to 3 months |
| Air-fryer reheating | Heat chicken in the air fryer | 350°F, until center reaches 165°F |
A wire rack can help the crust crisp as the air fryer warms the chicken. Reheat only the amount you plan to eat so the rest stays safely stored.
Conclusion
A successful batch comes down to a crisp crust and a glaze you can adjust. Small checks make the work easier: let the coating rest, watch the oil temperature, and brush on a measured first layer of cayenne oil glaze.
Those choices help you manage the heat without losing the crunch that makes Nashville hot chicken so appealing. You do not need to coat every piece the same way; begin lightly, then add more glaze to taste.
Gather the ingredients and choose a heat level before cooking. Set out the ingredients, choose your cayenne level and make your first batch at home.
FAQ
Can you make Nashville hot chicken ahead of time?
Can you shallow-fry Nashville hot chicken instead of deep-frying it?
Can you use chicken breasts for Nashville hot chicken?
Why does Nashville hot chicken glaze get hotter as it sits?
Is Nashville hot chicken hotter than regular fried chicken?
Can you freeze Nashville hot chicken?
What Did You Think? Rate This Recipe
Absolutely Tender and Packed with Flavor!
I followed this guide step by step and the beef shank came out amazingly tender and full of flavor. The tips on maintaining moisture made all the difference. Highly recommended for anyone trying this cut for the first time!