How to Cook Whole Chicken in Oven in 5 Easy Steps
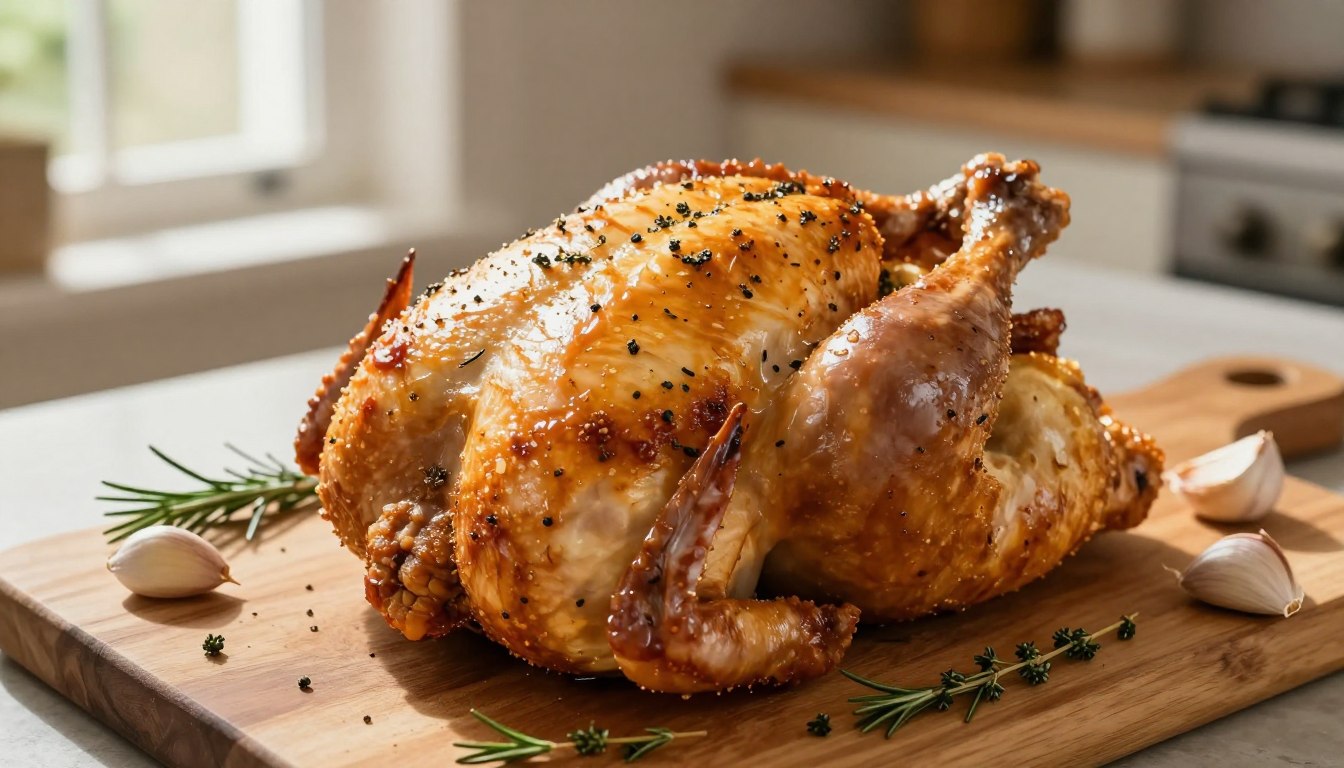
Roasting a dry, seasoned whole chicken uncovered in a hot oven is one of the easiest ways to elevate an ordinary weeknight dinner with minimal hands-on effort. If you are searching for how to cook whole chicken in oven, this simple technique focuses on two critical rules: leaving the bird uncovered so the dry heat can create beautifully browned, crispy skin, and using an instant-read meat thermometer instead of relying strictly on the clock.
Table of Contents
A reliable internal temperature check ensures the meat stays succulent and juicy while avoiding the danger zone between 40°F and 140°F where bacteria multiply quickly. With just a few basic ingredients, a sturdy oven-safe pan to catch the savory drippings, and a clear plan, you don’t need any special culinary gear to achieve restaurant-quality results. Beyond a fantastic family dinner, the leftover cooked meat provides a wonderful head start for quick meal prep later in the week.
How to Handle and Store Raw Chicken Safely
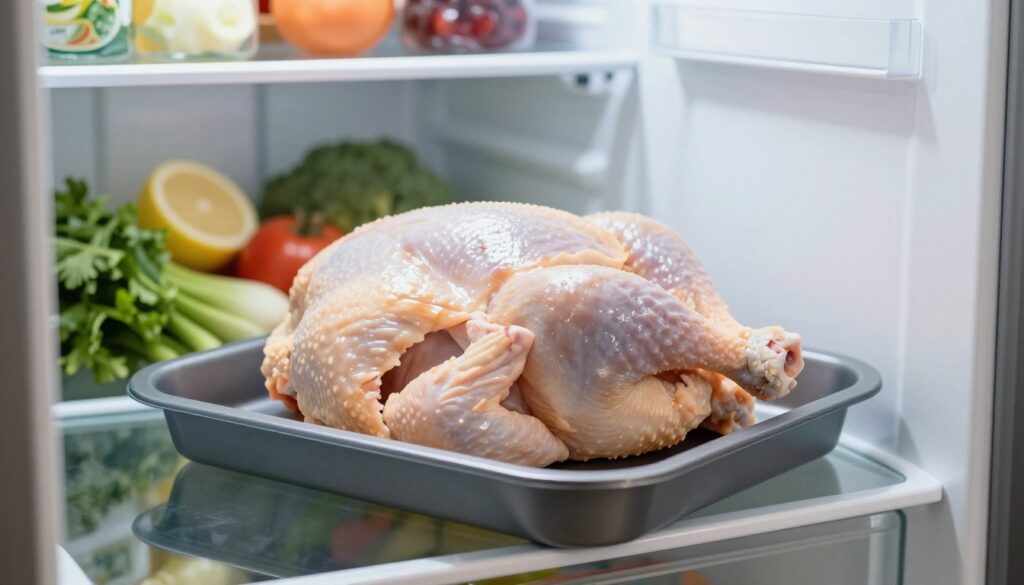
Put raw chicken on the refrigerator’s lowest shelf in a tray or sealed container so its juices cannot drip onto other food. Keep the fridge at 40°F or below, and use the chicken within 1 to 2 days. Rinsing is not part of safe prep.
Keep raw chicken and other perishable food out of the 40°F to 140°F danger zone for no more than 2 hours, or 1 hour above 90°F. A quick setup can limit drips and keep ready-to-eat food away from raw juices.
Refrigerate the bird and prevent drips
Place the package on the lowest shelf, where a leak cannot land on produce or cooked food. A rimmed tray catches juices if the wrapper leaks. A sealed container works well when you want an extra barrier.
Raw chicken can stay refrigerated for only 1 to 2 days at 40°F or below. It is not safe to keep raw chicken in the fridge for 7 days. Freeze it if you cannot cook it within that window.
Thaw it safely
Thaw chicken in the refrigerator, cold water, or microwave. The table shows the safe setup for each method and what to do afterward. The water method needs attention, but it can thaw chicken faster than a refrigerator.
| Method | Safe setup | After thawing |
|---|---|---|
| Refrigerator | Keep chicken at 40°F or below | Cook within 1 to 2 days |
| Cold water | Use a leak-proof bag; submerge in cold tap water and change water every 30 minutes | Cook immediately |
| Microwave | Follow the microwave’s thaw setting | Cook immediately |
Cold-water thawing works only when the chicken stays inside a leak-proof bag. Change the water every 30 minutes to keep it cold. Cook chicken immediately after thawing it with cold water or a microwave.
Keep hands and surfaces clean
Use this three-part checklist before cooking:
- Do not rinse raw chicken. Water can splash bacteria onto the sink, counters, and ready-to-eat foods.
- Wash your hands with soap for 20 seconds immediately after handling chicken.
- Clean possibly contaminated sinks and countertops with hot, soapy water, then apply a sanitizer.
Rinsing can spread bacteria instead of removing it. In a USDA observational study, 60% of people who washed raw poultry had bacteria in the sink afterward. After they tried to clean it, 14% still had bacteria there.
In that study, 26% transferred bacteria from raw poultry to ready-to-eat salad lettuce. Keep salad and other foods that need no cooking away from raw chicken and its juices. Never thaw raw chicken on the counter, even if you plan to cook it as soon as it softens.
What You Need for a Simple Roast Chicken Recipe
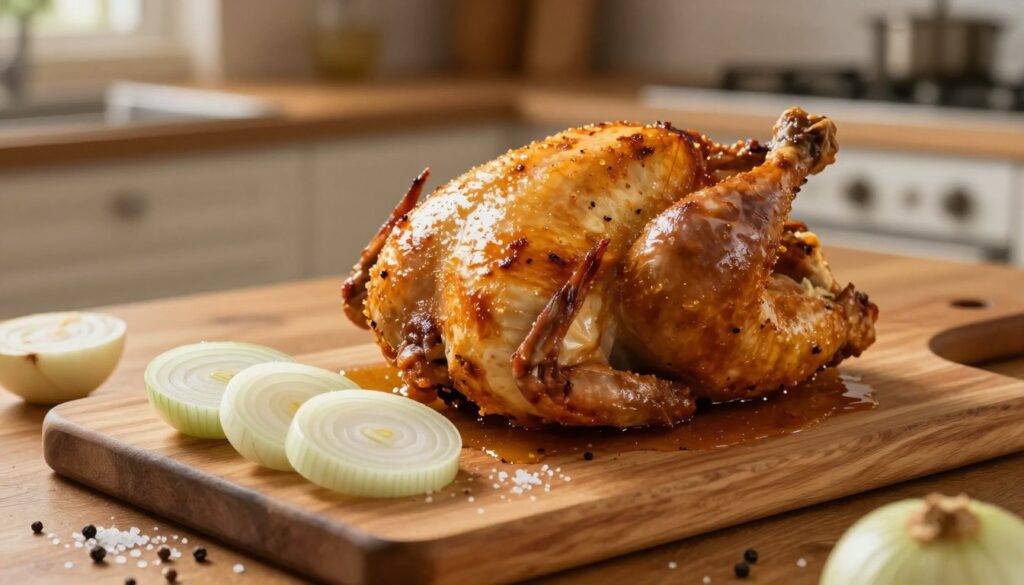
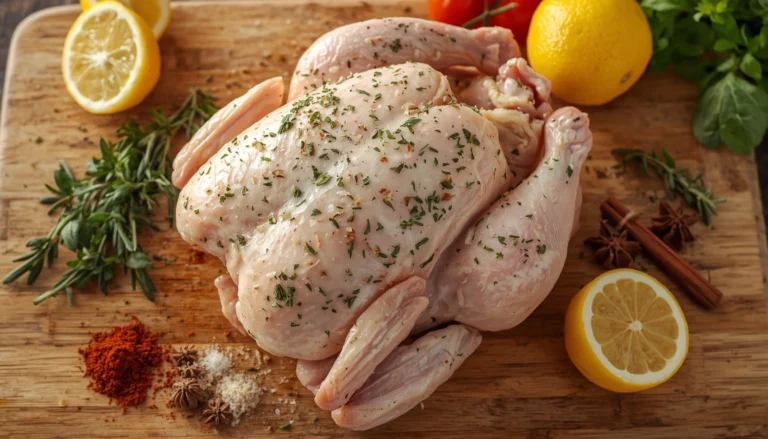
A 5- to 6-pound bird, salt, pepper, onion, and a little pan liquid are enough for a straightforward roast. The recipe needs no special equipment. A wide oven-safe pan holds the chicken and catches its drippings.
Use an oven-safe pan wide enough to hold the bird with room around it. You do not need to buy a special roasting pan. A sturdy baking dish or other oven-safe pan can work if it fits the chicken without crowding.
Gather these five core ingredients:
- One whole chicken weighing 5 to 6 pounds
- Salt for seasoning
- Pepper for seasoning
- One sliced onion
- ½ cup water, white wine, or chicken broth
The measured liquid goes into the pan, not over the chicken as a replacement for seasoning. Choose water for a mild result, white wine for a brighter note, or chicken broth for a savory base. The onion adds flavor to the drippings as the bird roasts.
This short list leaves lemon and garlic out of the basic recipe. You can keep the seasoning simple and still get a flavorful dinner. The pan liquid gives the onion and drippings a little moisture as they heat.
Plan your prep and pan
Seasoning the chicken ahead is optional. You can season it just before cooking, or set it in the refrigerator for 1 to 24 hours first. That prep-ahead window gives the salt time to season the surface as part of your favorite chicken recipes
Use a pan that is broad enough to hold the whole chicken without pressing it against the sides. A pan that is too small can crowd the bird and leave little room for the drippings. Choose a pan that leaves room around the bird rather than crowding it.
How to Cook Whole Chicken in Oven
The first few minutes of prep determine whether the seasoning adheres and the skin is dry enough to brown. If you want to master how to cook whole chicken in oven, remember that dry skin is the start of a better roast. Keep the bird breast-side up and uncovered while it cooks.
Pat the chicken dry with paper towels before adding seasoning, because surface moisture interferes with browning. Set out the oven-safe pan and keep the work area clear for the prep steps.
Dry and season the chicken
Use this five-step method to prepare the chicken and start the roast:
- Remove the packaging and take out the giblets if they are present.
- Pat the chicken dry all over with paper towels.
- Season the chicken inside and out with salt and pepper.
- Place the chicken breast-side up in the oven-safe pan.
- Roast it uncovered in the oven.
Check the cavity for a packet before seasoning. If giblets are included, remove them and set them aside for another use, or discard them. Dry the outside and the cavity so no pooled moisture remains.
Apply the seasoning across the skin and inside the cavity. Salt and pepper cover the basic seasoning, and you can press them gently onto the surface. A little care here helps the seasoning stay where you put it.
Arrange and roast the bird
Set the chicken breast-side up in the pan, with its legs facing the open end. The skin should remain exposed to the oven’s heat. A cover would trap moisture and work against browning.
Trussing is optional. If you choose to do it, use two pieces of twine: one to hold the wings close and another to tie the legs. Keeping the limbs near the body helps the chicken sit neatly in the pan.
You can also tuck the wing tips beneath the body to keep them close. This takes only a moment and does not require twine. If you skip trussing, tuck the wing tips under the bird before it goes into the oven.
How Long to Roast a Whole Chicken at 425°F
For a 5- to 6-pound bird, plan on 55 minutes to 1 1/2 hours at 425°F, then confirm doneness with a thermometer. The clock gives you a window, not a verdict.
Weight and oven performance affect the time, so use the range to plan and check the chicken itself before serving. Start with a preheated oven and leave the skin uncovered as it roasts.
Match the timing to the bird and oven
The table compares the usual oven settings and the cover choice. A smaller bird may finish sooner than a larger one. Check the meat rather than assuming the same minutes will work every time.
| Approach | Oven setting or cover | Practical check |
|---|---|---|
| Conventional oven | 425°F | 55 minutes to 1 1/2 hours, depending on bird size |
| Convection bake | 400°F | Check the bird; do not assume conventional timing |
| Foil | Leave uncovered at first | Loosely tent only if skin browns too quickly |
A 400°F oven takes about 20 minutes per pound as a starting estimate. The chicken’s weight and the oven’s performance affect the actual time. Check the bird instead of treating that estimate as a finish time.
Spatchcocking means cutting out the backbone and flattening the chicken. It can shorten roasting compared with leaving the bird intact. The flatter shape still needs a temperature check before you serve it.
Use foil only when browning too quickly
Roast the chicken uncovered to help the skin brown. If the skin gets dark before the meat is ready, place a loose foil tent over the top. Leave space around the foil rather than sealing the pan.
Foil slows browning where it covers the skin, so use only enough to shield the darkening area. Do not wrap the whole pan at the start of cooking. Foil is a temporary shield for skin that is browning too quickly, not a cover for the full roast.
How to Check Doneness and Rest the Chicken
The chicken is done when its internal temperature reaches 165°F, not when the skin looks brown. Use the thermometer as your proof. Check more than one thick area so the reading represents the whole bird.
Cook whole or ground poultry to an internal temperature of 165°F. Put an instant-read meat thermometer into the thickest part of the breast, away from bone, fat, and gristle.
Touching bone can give an inaccurate reading, so shift the thermometer tip into the meat. Check the thickest breast, then the innermost thigh and wing. Each area should reach 165°F.
Insert the probe far enough to reach the center of the thick area, but do not push it through the other side. Read the display once it settles. If one spot is below the safe temperature, keep cooking and check again.
Pull the chicken from the oven when the meat reaches the safe temperature to help keep it from drying out. The skin’s color cannot tell you whether the center is ready. A meat thermometer makes that decision clear.
Stuffing needs the same care as the chicken. Whether you cook stuffing inside the bird or in a separate dish, it should reach 165°F. Check its center with the thermometer before serving.
Rest the chicken for 10 to 15 minutes before slicing. That pause gives the juices time to settle instead of running across the cutting board. Rest the bird for 10 to 15 minutes before carving so the juices have time to settle.
How to Add Vegetables and Flavor
Scatter vegetables around the chicken when you want the pan to make a more complete dinner. Leave breathing room so the pieces roast instead of crowding together. Onions, carrots, and potatoes are useful choices.
Vegetables have no required food-safety temperature; cook them to the tenderness you prefer. Cut them into sizes that suit the meal, then arrange them around the bird in the pan.
Use a bowl to toss cut vegetables with a little of the pan liquid or seasoning before adding them. Keep the pieces in a loose layer, with space between them and the chicken. A crowded pan can steam vegetables rather than roast their edges.
For extra flavor inside the cavity, add one quartered lemon, one halved head of garlic, or fresh herbs. Thyme, rosemary, and sage all pair well with chicken. You can use one herb or a small mix.
The cavity aromatics add scent and flavor as the chicken cooks, but they are optional. Lemon and garlic bring a bright, savory note, while rosemary has a strong woodsy taste. Use herbs that suit your meal rather than adding every option.
Cut carrots and potatoes into similar sizes so they soften at a similar pace. Smaller pieces cook faster, while large chunks need more time. Cut the vegetables into similarly sized pieces so they finish at roughly the same time.
How to Store and Use Leftover Roasted Chicken
Refrigerate cooked chicken in an airtight container within the safe storage window instead of leaving it out for an extended meal. Portion it promptly so you can chill what you will not serve. Cooked leftovers have a different storage window from raw chicken.
Keep roasted chicken in the refrigerator for up to 5 days, or freeze it for up to 3 months. Divide the meat into airtight containers that fit the portions you plan to use.
Remove the meat from the bones before storing it if that makes portions easier to use. Keep the pieces in sealed containers, not uncovered on a plate. Smaller portions are handy when you need one serving for lunch.
Use leftover roasted chicken in a salad, soup, sandwich, or wrap. Add it to a quick dinner with cooked vegetables, or tuck it into a wrap with greens. The cooked meat already carries the flavor of the original meal.
Leftover whole roasted chicken can also be saved in portions rather than as one large piece. This makes it easier to thaw only what you need later. Keep the container closed so the meat does not dry out in the fridge or freezer.
Garlic cloves and herbs from the roast can add flavor to soup, if you saved them. Remove any bones before using the meat in a salad or sandwich. Label frozen portions with the date so you can use them within the 3-month freezer window.
What If You Need a Different Cooking Method?
An air fryer or pressure cooker can stand in for the oven when the appliance can safely accommodate the bird. Capacity comes first. Choose a method that suits the appliance and the texture you want.
An air fryer can cook a whole chicken only if the bird fits and the appliance instructions allow it. Check the fit before you season the chicken, since a bird that touches heating parts may not cook as intended.
Cook a whole chicken in an air fryer
Use the air fryer’s own guidance for its size limit and setup. The bird needs room to fit as the basket closes, without blocking parts the appliance instructions say to keep clear. Check doneness with a thermometer, just as you would with an oven roast.
Air fryer capacity varies by model, so a whole chicken may fit one appliance but not another. Do not force the lid or basket closed around the bird. If it does not fit safely, choose a different method.
Choose a non-oven method or another dish
An Instant Pot can cook a whole chicken without an oven. It makes tender meat, but it will not produce the crisp skin of a roast. Use this option when soft, easy-to-pull meat matters more than browned skin.
You can also cut the chicken into pieces for a stovetop braise or stew. Smaller portions fit a pot more easily and cook in liquid with the other ingredients. That gives you a different meal from an oven roasted bird.
A lower 325°F roast takes longer than a 425°F roast and makes the skin softer, with meat that can fall from the bone. This approach suits a tender texture, not crisp skin. Choose the method for the texture you want, since a lower-temperature roast softens the skin rather than crisping it.
Conclusion
A simple roast chicken comes down to careful prep and checking the meat instead of guessing. Dry skin helps the roast brown, and simple seasoning lets its flavor stand out. The thermometer gives you a clear answer when the time estimate cannot.
Choose a dinner night, set aside a little prep time, and let the oven do most of the work. The result can serve as the main meal and give you cooked chicken for later. Set out your oven-safe pan and instant-read thermometer before you begin.
Ready to master more delicious meals? Explore our collection of easy chicken recipes and savory beef dishes over at Meat Cooks to inspire your next dinner!
FAQ
Do I cover a chicken when roasting?
How long to cook chicken at 400 degrees?
How to bake chicken without drying it out?
How to season a whole chicken for baking?
Do you have to rinse a whole chicken before roasting?
How long to season chicken before cooking?
Is it safe to keep raw chicken in the fridge for 7 days?
What Did You Think? Rate This Recipe
Absolutely Tender and Packed with Flavor!
I followed this guide step by step and the beef shank came out amazingly tender and full of flavor. The tips on maintaining moisture made all the difference. Highly recommended for anyone trying this cut for the first time!