Italian Beef Sandwich Recipe: 5 Secrets for Tender Beef
Table of Contents
This Italian beef sandwich recipe makes tender, juicy beef in a slow cooker, with pepperoncini, savory cooking juices and classic sandwich toppings. It gives you a hands-off take on Chicago-style Italian beef, made for an easy dinner with plenty of flavor. The au jus is the savory cooking juices served with the beef for spooning or dipping.
Few dinners feel as welcoming as a warm sandwich filled with beef that falls apart at the touch of a fork. Tangy peppers cut through the rich meat, and a crusty roll gives every bite a satisfying chew. Add provolone and giardiniera if you like.
The five secrets are practical choices about the cut, browning, cooking, juices and bread. Each one helps you serve beef that tastes rich without turning dinner into a project. You can make a fork-shredded version or choose a method for thin slices, then build each sandwich to suit your table.
Set aside enough time for a low, slow cook so the beef has time to turn tender.
What Makes Chicago-Style Italian Beef Different?
Chicago-style Italian beef is thin-sliced roast beef simmered in a light gravy and served on French bread. Thin slices and the savory cooking liquid set this Chicago Italian beef sandwich apart from a typical roast beef sandwich.
The exact origin is not established, though the sandwich is traced to Italian-American immigrants in Chicago as early as the 1930s. The city’s Italian beef is now known for beef served with its juices and pepper toppings, as described in this Chicago food history. The classic uses sliced beef, not the shredded home-cooked version in this recipe.
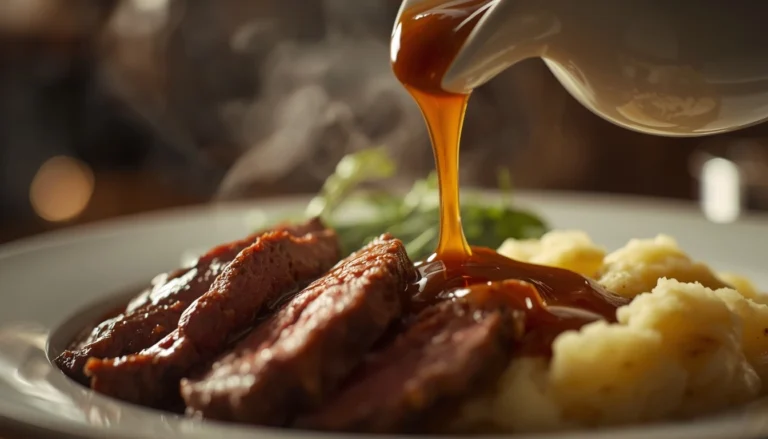
The cooking liquid served with the beef is called au jus. Its name means “with juice,” and the liquid keeps the meat savory while you eat. Restaurants use a few short terms to describe how much juice comes with the sandwich.
What “Dry,” “Wet” and “Dipped” Mean
A dry sandwich has beef lifted from the cooking juices, with little liquid added. A wet sandwich comes with the beef and its juices, or with juice spooned over the filling.
A dipped sandwich is assembled first, then dunked into the au jus. That dunk can soften the bread quickly, so a sturdy roll matters. Restaurants may use “wet” and “dipped” in different ways.
These serving styles change the sandwich’s texture more than its basic ingredients. A dry order leaves the bread firmer, while a dipped one brings juice into each bite. Ask how a restaurant uses “wet” or “dipped” if you are ordering there, since the terms are not uniform.
Choose a Roast for Slices or Shredding
For thin slices, choose a round roast; for a fork-shredded slow-cooker sandwich, use chuck roast. Your target texture is the main guide, since the cuts cook and serve differently.
Inside round is commonly used for Italian beef, and some restaurants use top sirloin. A 3- to 4-pound top round roast is a suitable size for these methods. Chuck roast has more connective tissue, which softens during a long cook and makes it a practical choice for shredded beef.
Round Roast for Thin Slices
Inside round and top sirloin suit a sliced roast beef sandwich. Round has a lean, even shape that makes it easier to cut into neat pieces after cooking and chilling. Top sirloin is another option when you want slices instead of a fork-tender pile of meat.
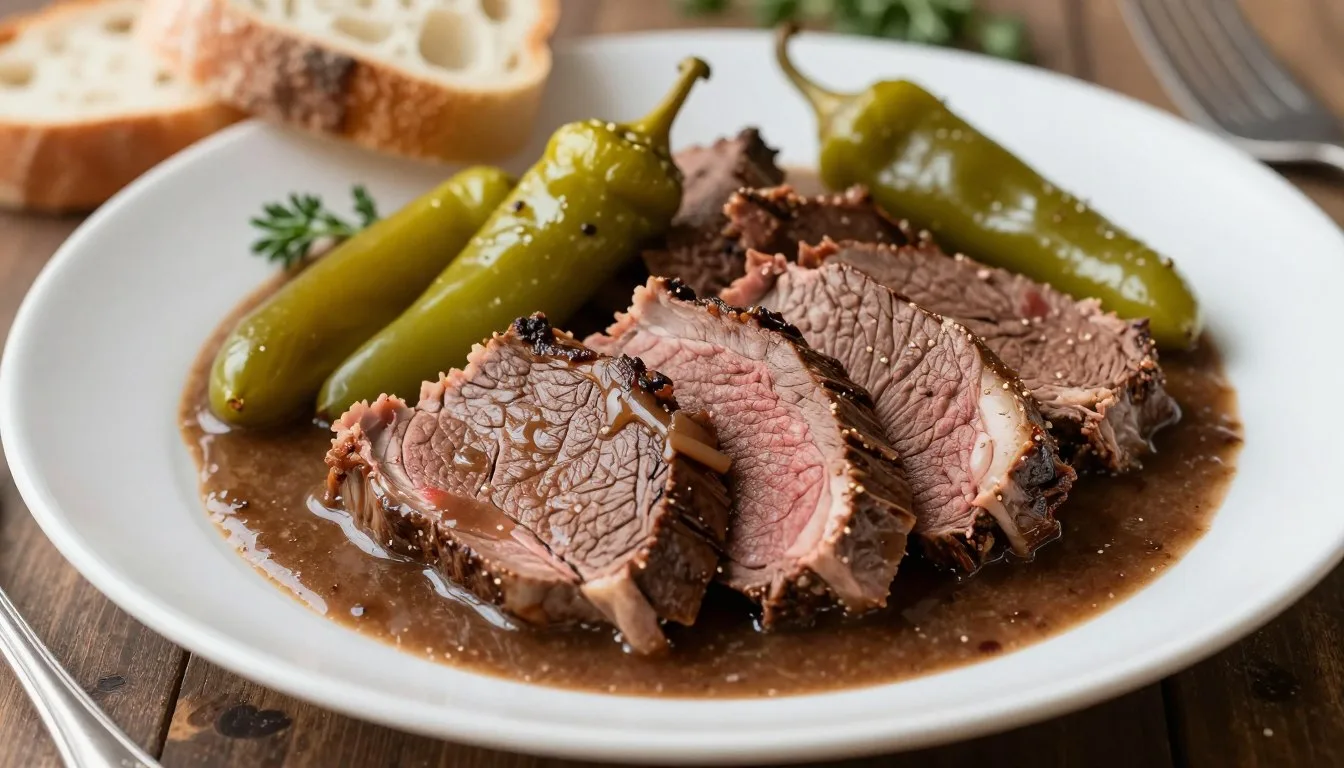
For a classic-style sandwich at home, slice the cooked roast thinly across the grain. That means cutting across the long lines in the meat, rather than along them. Thin cuts across the grain make each bite easier to chew.
Chuck Roast for Fork-Tender Beef
Choose chuck when you want meat that breaks apart easily for a slow-cooker meal. Its tender texture suits a casual sandwich, even though it differs from the thin-sliced Chicago style. Keep in mind that a chuck roast will not produce the same tidy slices as round.
Use a food thermometer to check whole cuts of beef. The USDA safe minimum is 145°F, followed by a 3-minute rest. That safety mark does not mean the meat is tender enough to shred, so use texture as well as temperature to judge the recipe.
| Cut | Typical use | Best texture |
|---|---|---|
| Inside round | Italian beef | Thin slices |
| Top sirloin | Restaurant-style beef | Thin slices |
| Chuck roast | Slow-cooker sandwiches | Fork-shredded beef |
Trim only large, firm pieces of exterior fat before cooking, rather than cutting away all the fat that helps keep the roast moist.
Five Secrets for Tender, Flavorful Beef
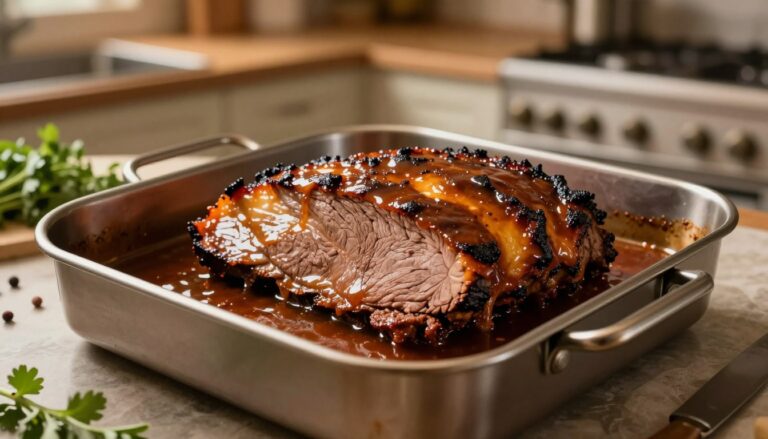
A flavorful pot starts on the stovetop, where a well-browned roast develops a crust before it ever reaches the cooker. That browned surface gives the finished beef a deeper taste than a roast cooked without searing.
Heat olive oil in a heavy pan, then brown the roast on every side until the surface looks crusty. This takes about 10 minutes total. Turn the roast as it browns so all sides build color.
Build Flavor Before the Long Cook
Pepperoncini bring a bright, sharp taste to the cooking liquid. Their brine adds salt and tang, so balance it with beef broth rather than pouring in more brine by habit. A Chicago Italian beef recipe benefits from both a browned roast and a tangy cooking liquid.
Seasoning mix adds herbs and savory notes, while broth gives the peppers’ sharp edge room to mellow. The liquid should taste bold but not so sour that it hides the beef. Start with the recipe’s measured amounts, then taste the au jus near the end and adjust only if needed.
Each of the five technique choices has a job: brown the roast, balance the broth and peppers, cook until fork-tender, return the meat to its juices, and protect the bread. They work together, so skipping the sear or draining the meat can leave the sandwich less rich.
Give the Beef Time to Turn Tender
Cook the meat until a fork slides in easily and the roast pulls apart with little effort. Time estimates help you plan, but they cannot show how tender a particular roast has become. A reliable Italian beef recipe cooks the meat until fork-tender before serving it in its juices.
Once the beef is tender, let it rest briefly before slicing or shredding. Put the pieces back into the cooking juices so they absorb flavor and stay moist while you prepare the rolls. The au jus also gives you liquid to spoon over the sandwich, or to serve on the side.
Toast the bread before filling it. A toasted cut side stands up better to warm meat and juice, which helps keep the bottom from turning soggy too soon. The roll should still be soft enough to bite through without squeezing the filling out.
Wait for the meat to pull apart easily before shredding it, even if that means cooking beyond the first time check.
Italian Beef Sandwich Recipe for the Slow Cooker
For hands-off shredded Italian beef, put a 3-pound chuck roast in the slow cooker with broth, Italian seasoning, dressing mix and pepperoncini. The chuck version is a strong best Italian beef sandwich recipe choice when you want soft, fork-shredded meat.
Use these measured ingredients for the main recipe. A Chicago-style Italian beef recipe or Chicago Italian beef sandwich recipe can take this same easy, homemade path. Keep the chuck recipe’s pepperoncini and brine amounts separate from the top-round option.
Ingredients for the Slow-Cooker Version
- 3 pounds chuck roast
- 2 cups beef broth
- One 0.7-ounce packet Italian dressing mix
- 2 teaspoons Italian seasoning
- One 16-ounce jar pepperoncini, plus 1/3 cup brine
- Hoagie rolls and optional provolone cheese, for serving
Slow-Cook, Shred and Return to the Juices
Set the slow cooker to LOW for 8-10 hours or HIGH for 4-5 hours. Cooking times are guides, not a reason to shred meat that still feels firm. Check the roast with a fork near the end of the cooking window.
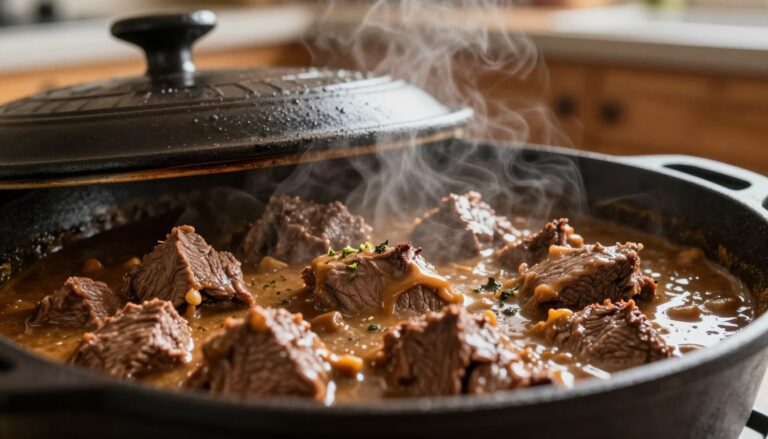
When the chuck pulls apart easily, lift it out and shred it with two forks. Remove any large pieces of fat that remain, then return the beef to the pot. Stir gently so the meat picks up the peppery broth without breaking into a paste.
Serve the meat from the slow cooker with a little au jus. Add provolone cheese if you want a mild, creamy layer, or keep the sandwich simple. Toasting the rolls first helps them hold up to the warm filling and cooking liquid.
For a separate top-round version, use a 3- to 4-pound roast with 2 cups beef broth, 1 cup sliced pepperoncini and 1/4 cup brine. Cook it on LOW for 8-10 hours or HIGH for 4-5 hours, then slice it thinly instead of shredding. The two recipes use different pepper amounts, so do not combine their measurements.
Keep the shredded meat in the cooking juices until you are ready to assemble the sandwiches.
Make Italian Beef in a Dutch Oven
Use a covered Dutch oven for fall-apart chuck, or the uncovered top-round method when thin slices are the goal. The oven method gives you two options, each matched to a different cut and texture.
Covered chuck cooks at 300°F for 4.5-5 hours, until it shreds easily. Uncovered top round cooks at 325°F for 3.5-4 hours, until it reaches 195°F. These times are not interchangeable because the cuts, pots and endpoints differ.
Covered Dutch Oven for Shredded Chuck
Place a 3-pound chuck roast in a covered Dutch oven with the seasoned cooking liquid. Set the pot in a 300°F oven and cook until a fork easily pulls the meat apart. This covered method holds in moisture as the chuck softens.
Check the roast toward the end of the cooking window. If it still resists a fork, cover the pot again and continue cooking before you shred it. Once tender, pull the chuck apart and return it to the au jus.
Uncovered Dutch Oven for Thin-Sliced Round
For thin slices, cook top round uncovered in a Dutch oven at 325°F for 3.5-4 hours, until its center reaches 195°F. The uncovered method has a different target from the chuck recipe, which ends when the meat shreds easily.
After cooking, chill the roast for several hours. A cold roast is firmer and easier to cut into thin slices. Use a sharp knife and cut across the grain, keeping each piece short enough to bite through.
Warm the slices in au jus for 10-15 minutes before serving. This brief simmer adds flavor without asking you to shred the meat. The comparison below shows why the oven methods need separate timing and texture checks.
| Method | Cut and pot | Temperature | Time and result |
|---|---|---|---|
| Slow-cooker chuck | 3-pound chuck, slow cooker | LOW or HIGH | 8-10 hours or 4-5 hours, shredded |
| Covered Dutch-oven chuck | 3-pound chuck, covered pot | 300°F | 4.5-5 hours, shredded |
| Uncovered Dutch-oven top round | Top round, uncovered pot | 325°F | 3.5-4 hours to 195°F, thin slices |
Slice the chilled roast across the grain with a sharp knife so each piece is short and easy to bite.
Build a Sandwich That Holds Its Juices
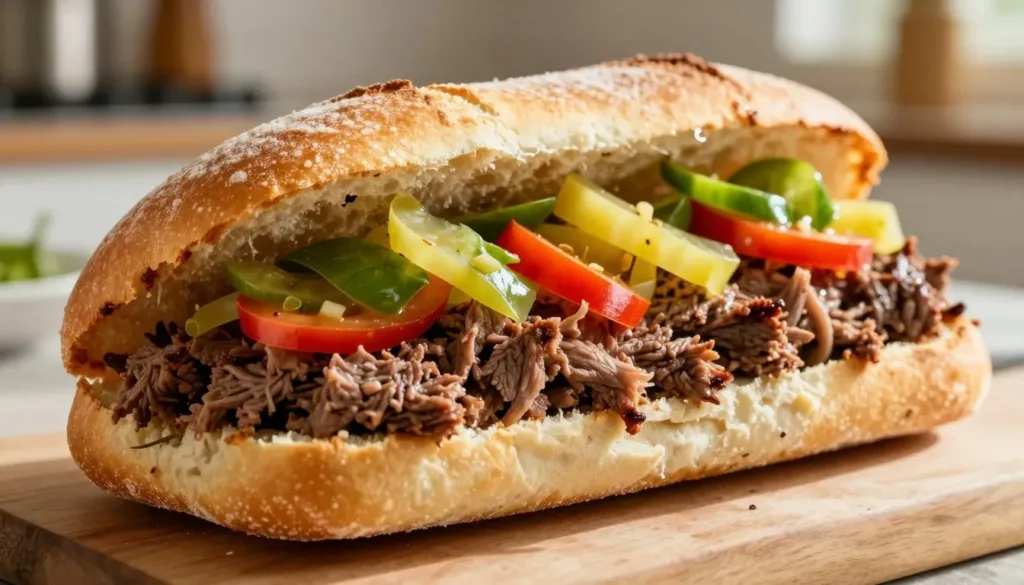
A sturdy, crusty roll is the best foundation for beef that will be served with its juices. French bread or a firm hoagie roll gives the filling support without making the sandwich hard to bite.
Toast the cut sides before adding the beef. The warm surface helps the bread resist soaking through, especially when you spoon au jus over the meat. Choose a roll sturdy enough to handle dipping in cooking juices.
Pick Bread and Cheese That Suit Your Serving Style
French bread keeps close to the classic Chicago style, while hoagie rolls are easy to portion for dinner. Provolone cheese melts smoothly over hot beef, and mozzarella or cheddar offers a different taste. Cheese is an optional variation, not a required part of the classic sandwich.
Some restaurants also offer Italian sausage as a topping. It makes a larger, richer sandwich, so you can serve it as an extra choice rather than a must-have. A toppings bar lets each person build a roll with the amount of cheese and heat they enjoy.
Choose Sweet Peppers or Hot Giardiniera
Traditional toppings include grilled or boiled bell peppers, often called “sweet,” and spicy giardiniera, called “hot.” The sweet peppers bring a mellow taste, while giardiniera adds tang, crunch and heat. Keep the two in separate dishes so guests can choose their own balance.
- Sweet grilled or boiled bell peppers
- Hot giardiniera
- Provolone, mozzarella or cheddar
- Optional Italian sausage
There is no need to dress every sandwich the same way. Offer the beef and au jus beside the bread, then let guests add peppers, cheese or sausage as they like. Add the wettest toppings just before serving so the roll keeps its structure.
Make or Choose Giardiniera for the Topping
Giardiniera adds a crisp, tangy and often spicy contrast to the rich beef. Its crunch gives a soft sandwich a sharper bite, while the heat can range from mild to strong.
Chicago-style giardiniera can include cauliflower, carrots, celery and peppers, though each mixture may differ. It is a pickled vegetable relish, distinct from the pepperoncini cooked with the beef. Homemade refrigerator giardiniera is a topping, not a shelf-stable preserve.
Vegetables and Pickling Brine
Chop the vegetables into small pieces so they fit neatly on a roll. Before pickling, soak them in salted water for at least 6 hours or overnight. This step seasons the mixture and gives you time to prepare the brine.
For longer storage, use equal parts vinegar and water in the brine, a 1:1 ratio. Add peppers to bring heat, or use a milder mix if you prefer a gentler topping. Keep the vegetables covered by the brine as you store them.
Refrigerated Storage
Use a clean jar and keep homemade giardiniera in the refrigerator. Do not treat a homemade refrigerator mixture as a shelf-stable preserve or store it at room temperature. That distinction matters even when the vegetables smell and look fresh.
Store-bought giardiniera is another easy choice when you do not want to prepare a batch. Check its label for storage directions after opening, since brands can differ. Keep a homemade batch refrigerated and use it within 2 weeks after opening.
Store Leftovers and Serve a Full Dinner
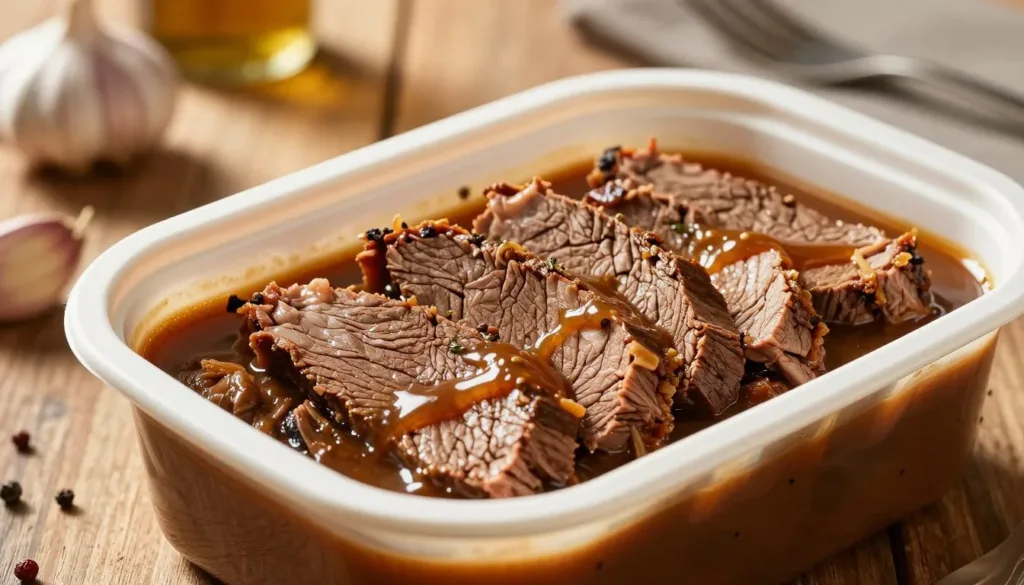
Save extra beef with some of its cooking liquid so it stays moist when reheated. A little au jus coats the meat and helps keep the edges from drying out.
Refrigerate leftovers promptly in an airtight container. Keep them chilled for up to 3 days, or freeze them for up to 3 months. Store the beef with liquid, not as a dry pile of meat.
Reheat the beef gently in a covered pan or microwave-safe dish. Add enough reserved cooking liquid to loosen the meat, then heat only until warm. Stir once or twice so the beef warms evenly without cooking for too long.
- Crisp green salad
- Potato salad
- Pasta salad
- Roasted vegetables
These sides make the sandwiches a filling dinner without competing with their savory juices. A crisp salad keeps the meal light, while potato or pasta salad makes the plate more substantial. Roasted vegetables offer a warm option when you want something beyond salad.
Freeze leftovers in meal-size portions if you do not expect to use them soon. Smaller portions thaw faster and make it easier to warm only what you need. Reheat only the amount you plan to serve, and loosen it with a little reserved au jus if it has thickened.
Conclusion
A good homemade Italian beef sandwich starts with the texture you want, then follows through with a sturdy roll and tangy topping. Chuck roast suits a hands-off sandwich with fork-shredded beef, while chilled top round gives you thin slices.
Choose the cut and method that fit your dinner plans. Set out the roll, cheese and pepper topping you prefer before cooking is complete, so the hot beef can go straight to the table.
Choose your preferred cut and cooking method, then set out the toppings before the beef is ready.
FAQ
What kind of beef is used for an Italian beef sandwich?
How do I slow cook Italian beef?
What is a wet meat sandwich?
What is the famous Italian sandwich?
How to make an amazing Italian sandwich?
Ready to master more kitchen favorites? Explore all our tested chicken and beef recipes step by step: Read More
What Did You Think? Rate This Recipe
Absolutely Tender and Packed with Flavor!
I followed this guide step by step and the beef shank came out amazingly tender and full of flavor. The tips on maintaining moisture made all the difference. Highly recommended for anyone trying this cut for the first time!