What Temp to Bake Chicken Breast? 400°F for Juicy, Tender Results Every Time
Table of Contents
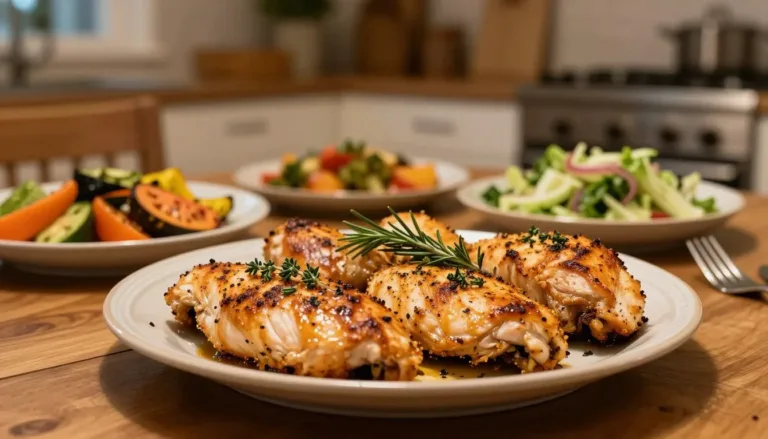
What temp to bake chicken breast? Bake boneless chicken breasts at 400°F (200°C) for a reliable balance of a tender center and a lightly browned outside. That setting is a steady choice when you need dinner tonight without turning a weeknight dinner into a guessing game. Cook the chicken until the thickest part reaches 165°F (74°C) for safe, juicy results.
Chicken breast can go from tender to dry while you finish setting the table. Even thickness, a quick temperature check, and a short rest make the process easier to manage. This recipe gives you a dependable starting point, plus options for different breast sizes and cooking needs.
Use 400°F as your default, then adjust your timing to match the size and shape of the meat. A meat thermometer is the clearest way to know when dinner is ready.
What Temp to Bake Chicken Breast for Juicy Results?
Choose 400°F as the everyday setting when you want a straightforward bake without using the highest heat. For most boneless breasts, it offers a useful balance of speed and browning. The best setting still depends on the size and shape of the pieces.
For breasts pounded to about 1 inch thick, 400°F takes about 22-25 minutes. Use this chart to compare oven settings and the tradeoffs you can expect.
| Oven temperature | Time for breasts pounded to about 1 inch | Practical tradeoff |
|---|---|---|
| 350°F | 30-35 minutes | Slower bake, gentler browning |
| 375°F | 25-30 minutes | Moderate heat and pace |
| 400°F | 22-25 minutes | Good everyday balance |
| 425°F | 18-22 minutes | Faster bake, more surface color |
| 450°F | 15-18 minutes | Fastest bake, needs a suitable pan |
Roast meat or poultry in an oven set to at least 325°F. Higher heat shortens the baking time, but the internal check still determines doneness.
Glass baking dishes often have a recommended maximum temperature of 425°F. For the 450°F option, choose a metal pan rated for that heat, not a glass dish.
Check the temperature rating on your baking dish before putting it into a 450°F oven.
Bake Times by Chicken Breast Size
At 450°F, a 6-ounce breast needs less time in the oven than a 12-ounce breast. The weight gives you a starting estimate, while thickness can change how quickly the center heats.
How long to bake chicken depends on both size and shape, so use time to plan, not to confirm doneness. Check the center of each piece before serving.
| Breast weight | Approximate bake time at 450°F | Check that confirms doneness |
|---|---|---|
| 6 ounces | 13-16 minutes | Lowest center reading reaches 165°F |
| 8 ounces | 16-19 minutes | Lowest center reading reaches 165°F |
| 12 ounces | 22-26 minutes | Lowest center reading reaches 165°F |
Small and Medium Breasts at 450°F
A 6-ounce chicken breast usually needs about 13-16 minutes at 450°F. An 8-ounce breast takes about 16-19 minutes. Those estimates work best when the pieces have a fairly even shape.
A thin piece may finish before a thicker piece of the same weight. The size-based minutes help you decide when to begin checking, but they do not replace the thermometer.
Large Breasts at 450°F
A 12-ounce breast takes about 22-26 minutes at 450°F because there is more meat to heat through. A breast with a thick middle can take longer than a flatter piece of the same weight.
Treat the size-based minutes as a first check, not a guarantee.
Use a Thermometer to Find the Coldest Point
The thickest part of the breast must reach 165°F for the simple home doneness check. Chicken heats from the outside toward its thermal center, so the first probe reading may not show the coldest spot.
Move the meat thermometer slowly through the thickest area and use its lowest reading. Insert the probe from the side when you can, aiming for the center of the meat without touching the pan.
A gradual reading change helps you find the coldest point. The tip may pass through warmer outer meat before reaching the thermal center, where the temperature is lowest.
The USDA pasteurization table for lean white chicken meat lists 157°F for 31 seconds as a time-and-temperature combination. That is a specific holding rule, not a reason to guess doneness from cooking time alone.
Check the lowest reading in the thickest area rather than relying on color at the surface.
Make Uneven Breasts Cook More Evenly
A breast that is thick at one end and thin at the other can finish unevenly even when its weight seems ordinary. The thin end may dry out while the thicker end catches up, so shape matters as much as weight.
Gently pound the thick portion until the breast has a more even shape. Use a meat mallet or the bottom of a small pan, and stop once the thick end is closer to the thin end.
For chicken breasts over 10 ounces, cut each breast in half before baking. The smaller pieces are easier to arrange and can cook more evenly than one large, uneven piece.
A 9-by-13-inch baking dish is a common size for arranging four breasts in one layer. Leave a little space between pieces so they do not steam against each other.
Two breasts with the same weight will not always cook at the same rate when their shapes differ. A broad, flat breast heats differently from a narrow piece with a high, thick middle.
Arrange the pieces in one layer and leave room around them for hot air to circulate.
Brine and Dry the Chicken Before Baking
A quick saltwater brine is optional, but it can help season untreated breasts before baking. The brief soak gives salt time to move into the meat, while careful measuring helps keep the flavor balanced.
Use ¼ cup kosher salt for 2 pounds of untreated chicken. Brine it for at least 15 minutes, or refrigerate it in the brine for up to 6 hours.
When a Quick Brine Helps
Mix the salt with water in a bowl large enough to cover the chicken. Use cool water, and make sure the salt dissolves before adding the meat.
- Dissolve the kosher salt in water.
- Cool the brine before adding the chicken.
- Soak the chicken for 15 minutes or refrigerate it for up to 6 hours.
- Remove the chicken and pat it dry.
Skip Brining Pre-Brined Chicken
Check the package for wording such as “contains a solution” or “enhanced with a salt solution.” That chicken is pre-brined, so it has already been treated with added salt.
Adding the full salt amount to pre-brined chicken can make the finished meat too salty. Leave out the brine, and use less salt in your seasoning if needed.
Pat the chicken dry after brining so water does not cling to the surface.
Choose an Oil and Seasoning Blend
A thin layer of oil helps the seasoning cling to the chicken and supports a roasted surface. Use a light coating so the pieces look glossy, not wet.
Olive oil works well for the usual 400°F bake. You can also use another cooking oil that suits your oven setting and gives you the flavor you want.
- Garlic powder and paprika for a warm, savory taste.
- Italian herbs for a mild, leafy flavor.
- Cajun seasoning for a spiced, peppery bite.
- Lemon pepper for a sharp, citrus-like note.
Butter can brown or burn more readily at high heat. Oil is the simpler choice for the 450°F option, especially when you want the seasoning to stay on the chicken.
Choose one seasoning direction and keep the coating light enough that it does not pool in the pan.
Ingredients for the 400°F Chicken Breast Recipe
This recipe uses four boneless, skinless breasts and a short list of pantry seasonings. Its mild flavor suits a simple family meal or chicken you plan to use in another dish.
The quantities below make four servings with about 2 pounds of chicken. Measure the seasonings before handling the raw meat.
Chicken and Oil
- 4 boneless, skinless chicken breasts, about 2 pounds total
- 1 tablespoon olive oil or another suitable cooking oil
Seasoning Blend
- 1 teaspoon kosher salt
- ½ teaspoon black pepper
- ½ teaspoon garlic powder
- ½ teaspoon smoked paprika
The four seasonings give the chicken a savory taste without crowding out its natural flavor. Smoked paprika adds a gentle smoky note, while black pepper and garlic powder add depth.
If you use pre-brined chicken, be cautious about adding the full salt amount. The package may say the meat contains an added salt solution, which affects how much extra salt it needs.
Have the seasoning measured before handling the raw chicken so it is ready to apply.
Bake, Rest, and Serve the Chicken
The most reliable method is to season evenly, bake in one layer, and check the center with a thermometer. This simple oven method answers how to bake chicken breast without needing to flip the pieces.
For breasts pounded to about 1 inch thick, plan on 22-25 minutes at 400°F. That is an estimate, not a substitute for checking each breast.
Prepare and Season
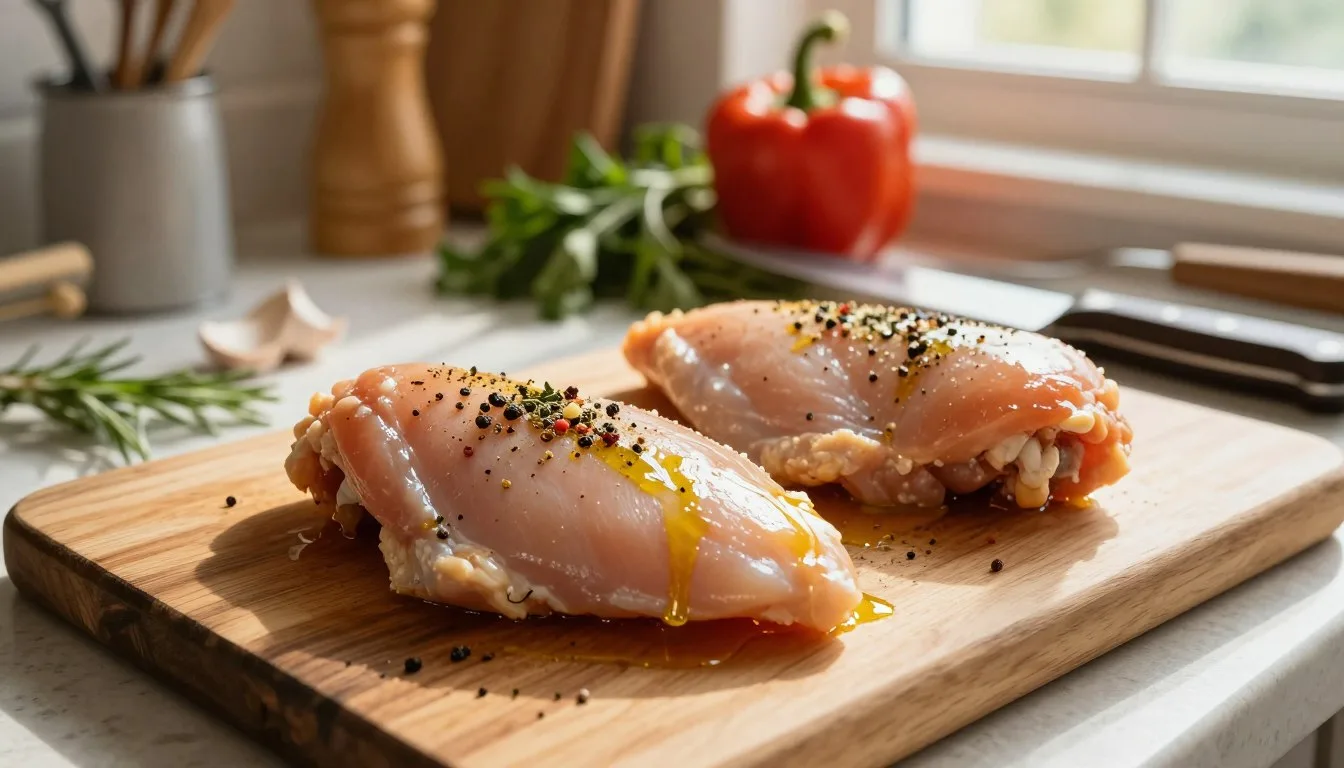
Heat the oven to 400°F. Mix the salt, pepper, garlic powder, and smoked paprika in a small bowl.
Pat the chicken dry, coat it with oil, then season all sides. Set the pieces in one layer in a suitable pan, with space between them.
Bake and Rest
Follow these steps for tender baked chicken breast:
- Bake the seasoned breasts at 400°F.
- Check the thickest part with a meat thermometer.
- Remove each piece when it reaches the safe endpoint.
- Broil for 3-5 minutes at the end if you want more color.
- Rest the cooked breasts before slicing.
The recipe does not require flipping. If the top needs more color, a short broil at the end can help, but watch the pan closely during those final minutes.
Rest the cooked breasts before slicing so their juices do not run out immediately.
Can You Bake Chicken From Frozen?
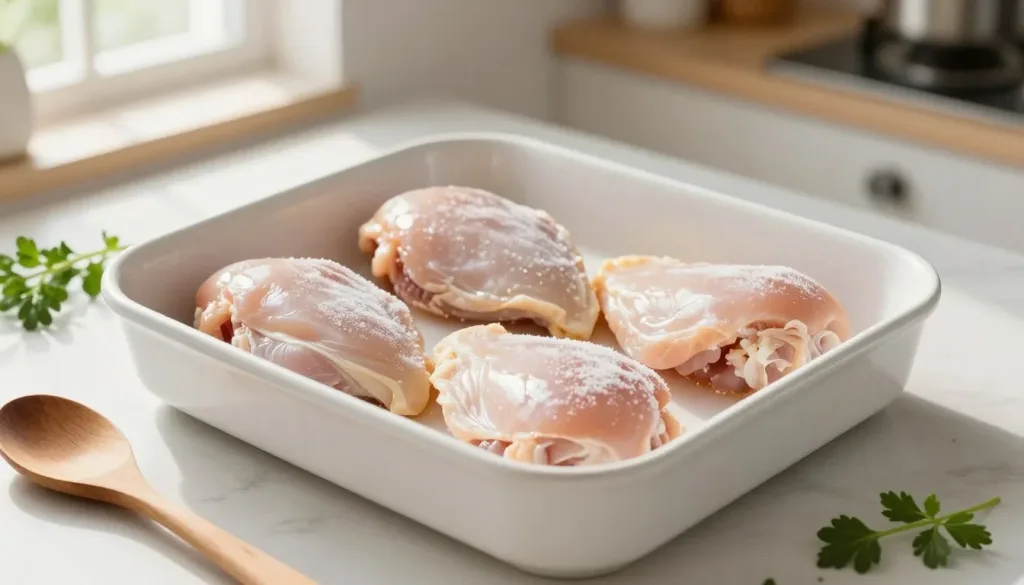
You can bake chicken breasts from frozen, but plan for more time than you would for thawed meat. Frozen chicken takes about 50 percent longer, and the center still needs to reach the safe endpoint.
An 8-ounce frozen breast takes about 30-40 minutes in a 400°F oven. Check the thickest part with a thermometer instead of judging the center by appearance.
Frozen Chicken in the Oven
Arrange the frozen breasts in a single layer in a baking dish. Separate pieces that have frozen together before cooking, so heat can reach each breast.
The exact cooking time depends on the breast size, thickness, and oven. Begin checking near the shorter end of the estimate, then keep cooking until the center reaches 165°F.
Frozen Chicken on the Stovetop
For stovetop cooking, cover frozen breasts by 1 inch with broth or salted water. Bring the liquid to a simmer, then lower the heat and cook gently for about 20-30 minutes.
A vigorous boil can toughen the outer meat before the center cooks through. Keep the liquid at a low simmer, and use the thermometer rather than relying on the surface color.
Use the thermometer check at the thickest point whichever method you choose.
Stovetop Options for Chicken Breast
A skillet or a pot of gently simmering water can cook chicken breasts when the oven is not convenient. Choose a skillet for browned edges or poaching for a softer, plain surface.
Each method still needs a thermometer check for safe doneness. These times suit thawed boneless chicken, and thicker pieces may need longer.
| Stovetop method | Chicken condition or cut | Approximate cooking time |
|---|---|---|
| Medium-heat skillet | 1-inch boneless breast | 6-8 minutes per side |
| Skillet | Thin cutlets | 3-5 minutes per side |
| Gentle water poaching | Boneless breasts | 10-15 minutes |
For skillet cooking, add a light coating of oil to the pan and let it heat over medium heat. The chicken should sizzle gently when it touches the pan, not smoke or scorch.
Poaching means keeping the water at a gentle simmer rather than a rolling boil. This method works well when you want plain chicken for another dish.
Keep the simmer gentle when poaching so the outside does not break apart before the center is cooked.
Bake Uncovered and Skip the Flip
Bake chicken breasts uncovered and leave them in place rather than turning them halfway through. Uncovered baking gives the top a chance to brown as the meat cooks.
Chicken breasts generally do not need flipping when baked in one layer. Choose whether to cover the pan based on the surface you want.
| Approach | Likely surface result | When to use it |
|---|---|---|
| Bake uncovered | Top can brown | When you want a roasted surface |
| Cover during baking | Surface stays paler | When you want to trap steam |
| Loose foil tent after baking | Surface stays less exposed | When cooked chicken needs a light cover |
Covering the pan during baking traps steam, which can leave the surface pale. The meat still cooks, but the top will not brown as readily as it does in an uncovered pan.
Foil can be useful after the chicken comes out of the oven. A loose tent covers the cooked meat without sealing it tightly.
Use foil as a loose cover after baking, not as a sealed cover during roasting.
How Boneless Thighs Compare With Breasts
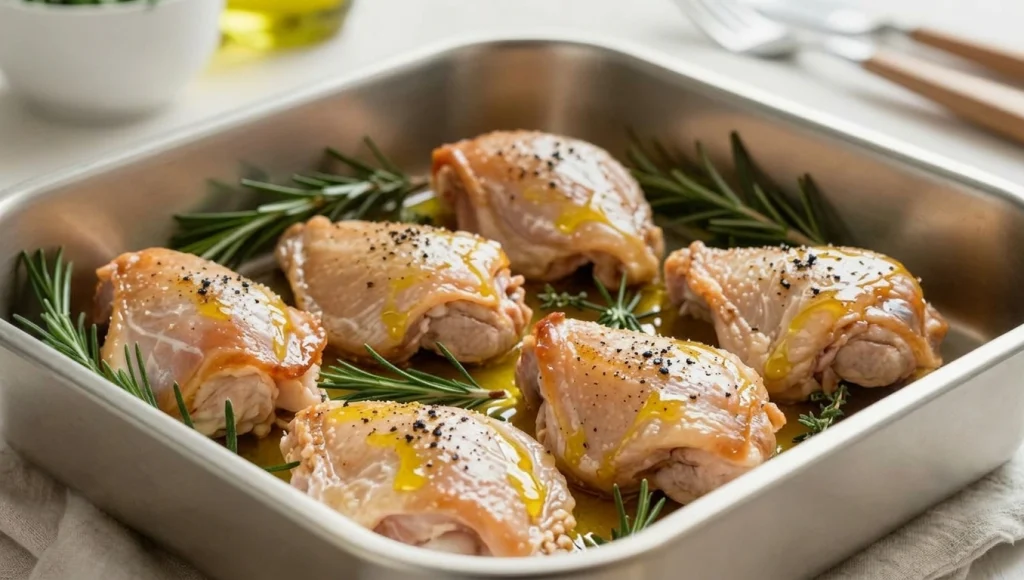
Boneless chicken thighs need a little longer in the oven than breasts at the same setting. They use the same safe endpoint as chicken breasts, but their cooking time can run 5-10 minutes longer.
Check thighs and breasts separately because their different shapes can affect when they finish. The timing difference applies to boneless thighs, not every chicken cut.
Temperature and Timing
Cook boneless thighs to the same safe internal cooking endpoint as breasts. At the same oven temperature, allow about 5-10 extra minutes for thighs.
Bone-in thighs are a different cut and may not follow that timing estimate. Use a thermometer to check each piece rather than assuming a pan of chicken will finish at once.
Adjust the Rest of the Meal
Thighs can share a menu with breasts, but the longer bake may affect when you add vegetables or other sides to the oven. Add quick-cooking sides later so they do not finish before the chicken.
If you want to cook both cuts together, arrange them with enough room for heat to move around each piece. Keep track of which cut you check, since the pieces may finish at different times.
Check each cut separately rather than assuming every piece on the pan finishes together.
Serve Chicken With Sides or Use It in Meals
A simply seasoned breast works as a main dish and can also become a ready-to-use protein for another meal. Its mild seasoning fits a range of sides, salads, and quick lunches.
Slice or shred cooked chicken to help it mix evenly into another dish. Choose from these easy meal ideas:
- Serve a whole breast with rice or potatoes.
- Pair the chicken with roasted vegetables.
- Slice it over a salad.
- Chop or shred it into pasta, wraps, or grain bowls.
Rice and potatoes make the chicken a filling dinner, while roasted vegetables add color and texture. A salad gives you a lighter meal with the chicken as its main protein.
Chopped or shredded chicken spreads through pasta, wraps, and grain bowls. Strongly seasoned chicken may not suit every salad or sauce, so match the rest of the dish to its flavor.
Match the side or recipe to the seasoning already on the chicken.
Store and Reheat Leftover Chicken
Refrigerate cooked chicken promptly in a covered, airtight container. Quick cooling helps you keep leftovers ready for meal prep.
Refrigerate cooked chicken within 2 hours, and use it within 4 days. You can freeze cooked chicken for up to 3 months.
Refrigerate or Freeze
Let the chicken cool enough to pack, then seal it in an airtight container. Put it in the refrigerator within 2 hours of cooking, and use the leftovers within 4 days.
For longer storage, freeze the cooked chicken in a sealed freezer-safe container. Divide it into portions first if you expect to use only a little at a time.
Reheat Without Drying It Out
Add a little water or broth before reheating, then use gentle heat. The added liquid helps keep the meat from drying as it warms.
Sliced chicken reheats faster than a whole breast, but it can dry out if heated too long. Check it often and stop once it is hot throughout.
Label frozen portions with the date so you can use them within the recommended storage period.
Fix Dry or Unevenly Cooked Chicken
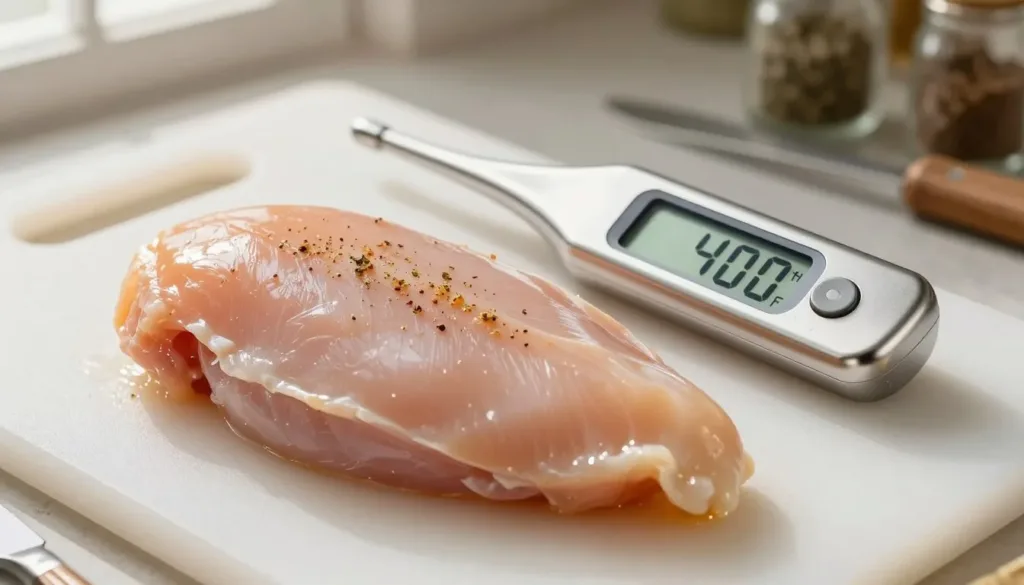
Dry chicken most often comes from cooking longer than the meat needs. Overcooking, uneven thickness, and relying on a timer can all lead to dry or uneven results.
A meat thermometer helps you stop cooking when the center reaches its safe endpoint. A timer cannot account for every breast shape or oven.
Why Breasts Turn Dry
Chicken keeps cooking as long as it stays in the hot oven. Leaving it in after it reaches the safe endpoint can dry the meat, even if the oven setting is correct.
A timer gives you an estimate, but two breasts may have different shapes, and ovens can heat differently. Cutting into the meat again and again also lets juices escape.
How to Prevent Uneven Results
Use this short troubleshooting sequence before the next bake:
- Even out the thick portion before cooking.
- Keep the pieces in one layer.
- Use a thermometer instead of cutting repeatedly to check.
Changing the oven temperature to compensate for uneven breasts does not fix their shape. Prepare the pieces more evenly, then let the thermometer guide when each one is ready.
For the next batch, even out the breasts first and pull each piece based on its own center reading.
Conclusion
A 400°F oven and a thermometer make a dependable starting point for tender baked chicken breasts. Keeping the breast shape even helps each piece cook at a steadier pace.
Make the recipe with seasonings already in your pantry, then check the thickest part before serving. Set out your pan and seasonings, then cook the chicken to the thermometer reading rather than the timer alone.
FAQ
Can you bake chicken breast from frozen?
How long to cook chicken breast in the oven at 200C?
Is it better to bake chicken at 350 or 400 in the oven?
Is 30 minutes at 350 long enough to cook chicken?
How long so I bake chicken breast at 350?
Will baking chicken at 350 dry it out?
Do you flip chicken breasts when baking?
What Did You Think? Rate This Recipe
Absolutely Tender and Packed with Flavor!
I followed this guide step by step and the beef shank came out amazingly tender and full of flavor. The tips on maintaining moisture made all the difference. Highly recommended for anyone trying this cut for the first time!